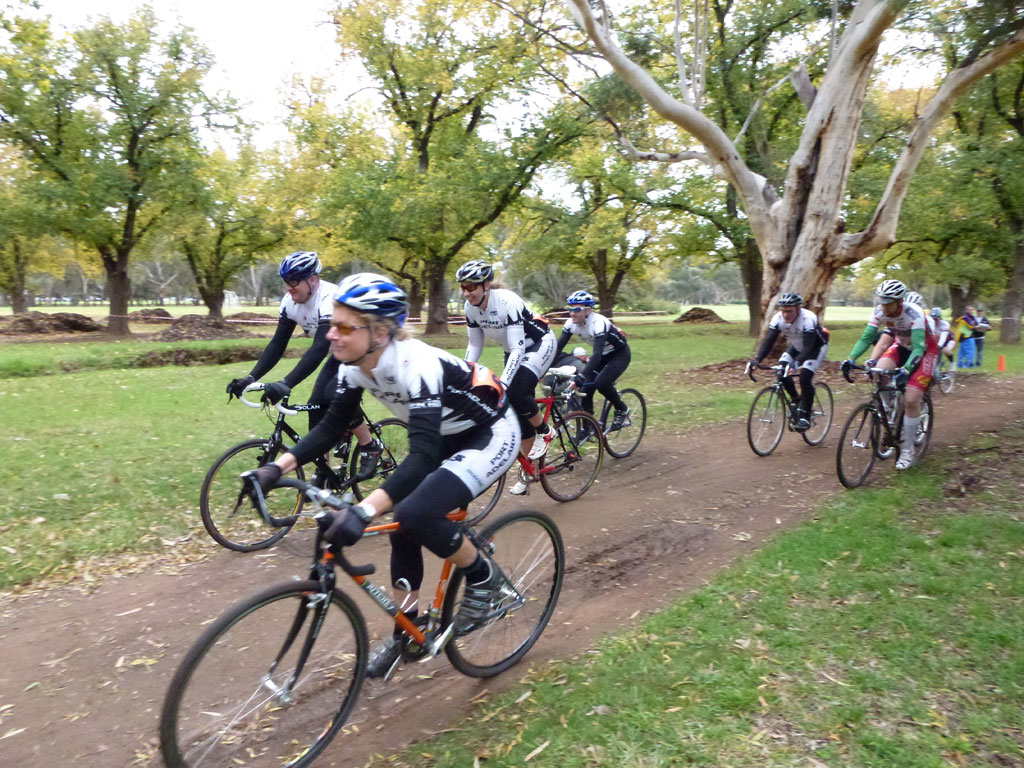
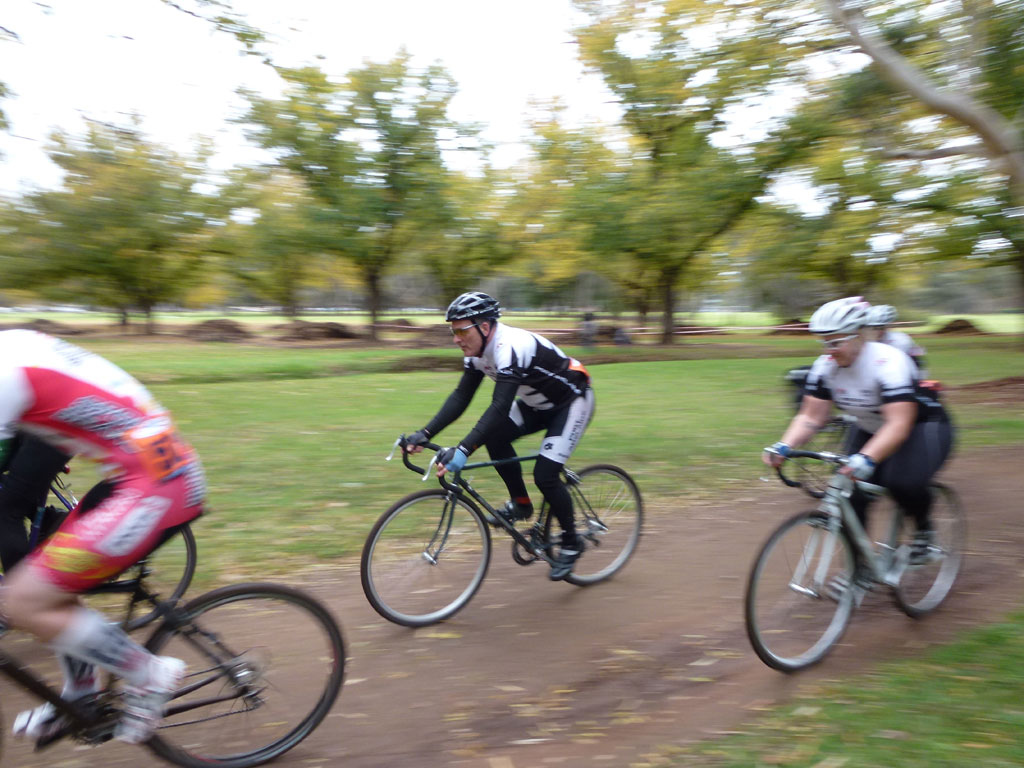
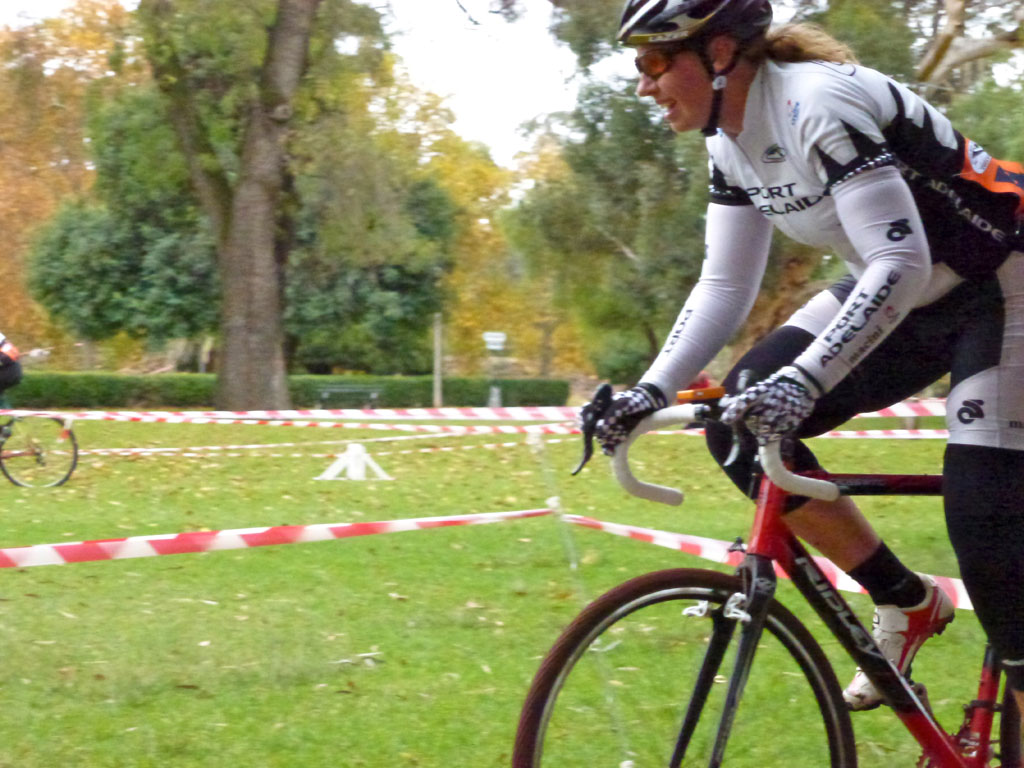
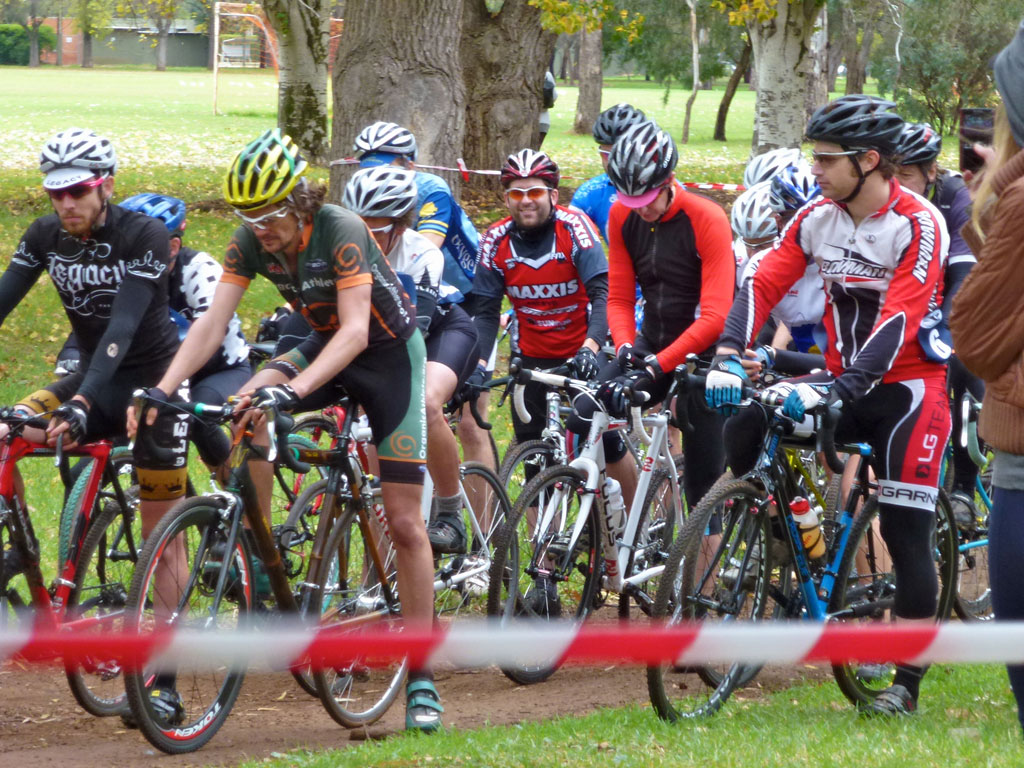
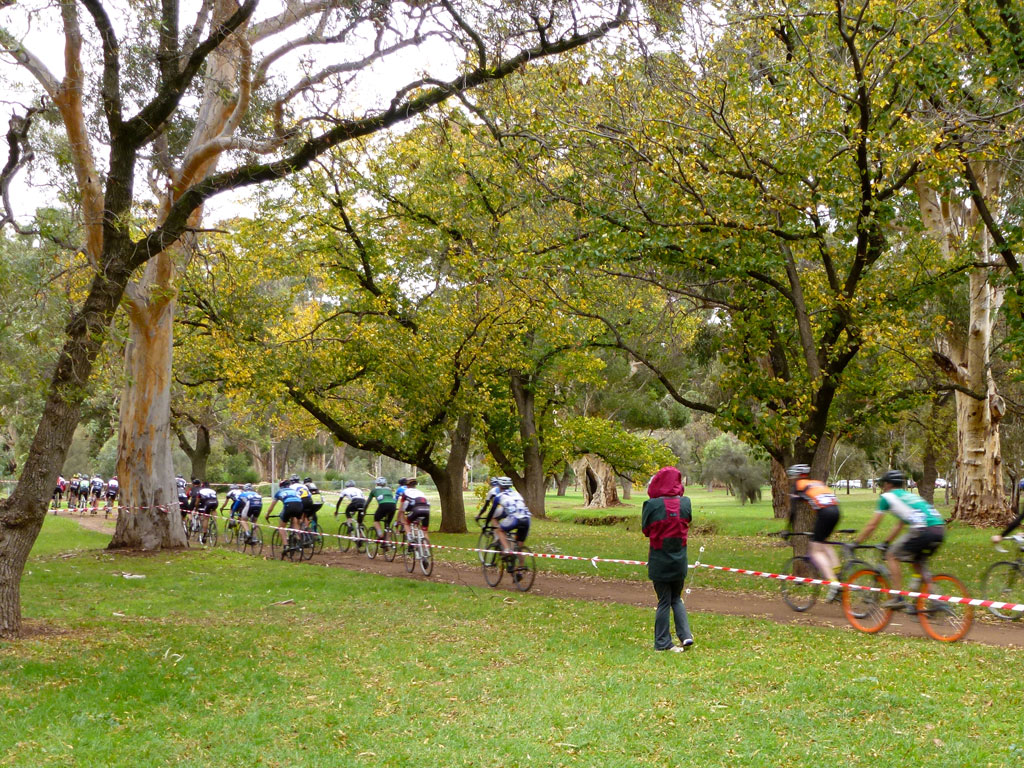
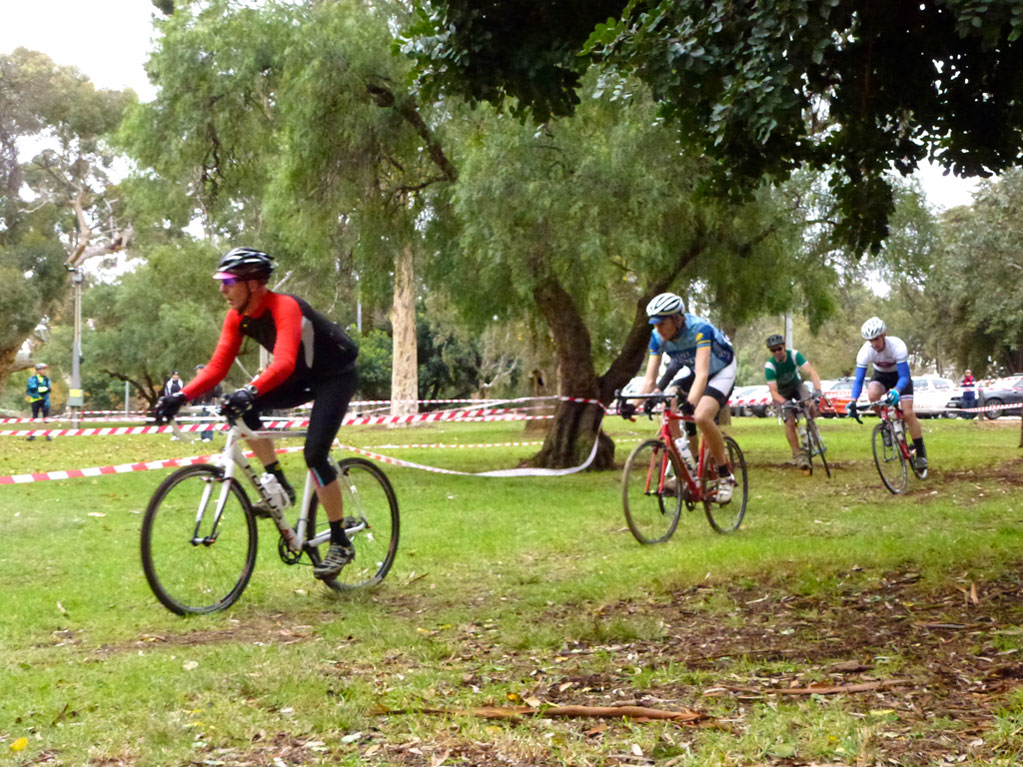
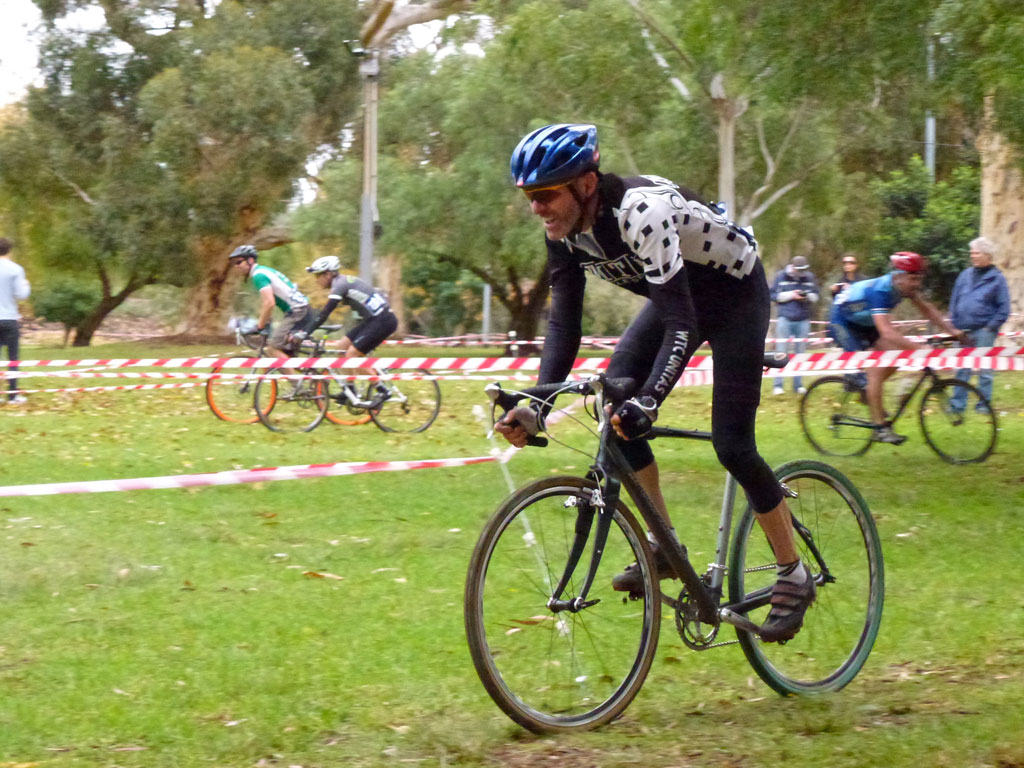
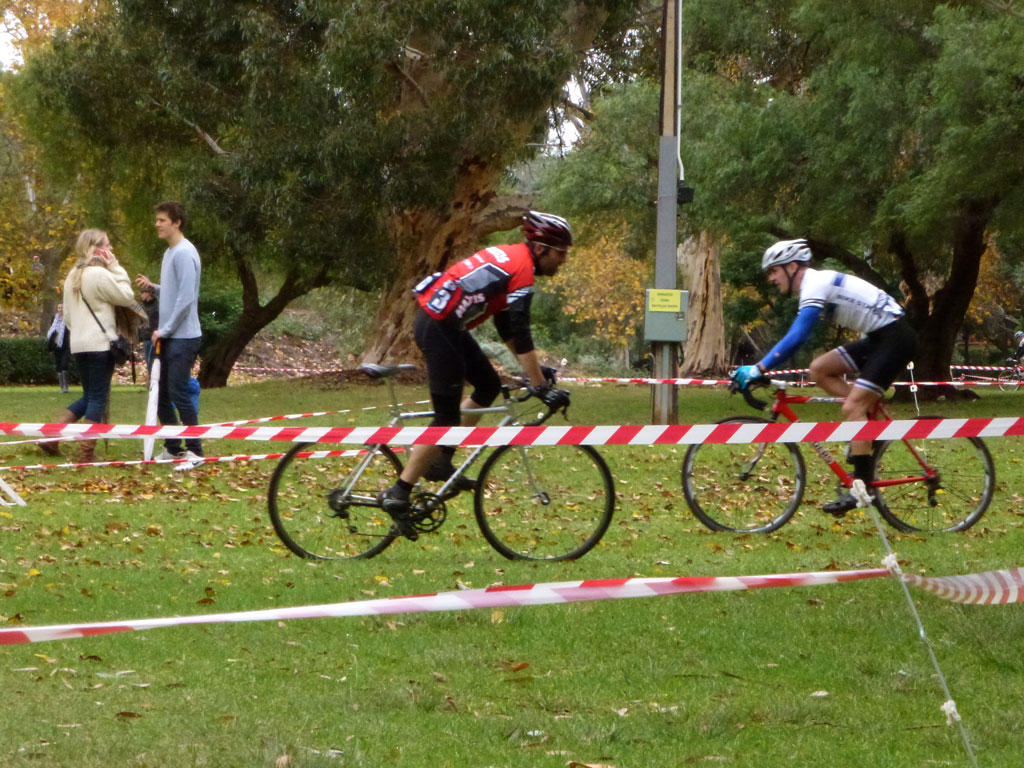
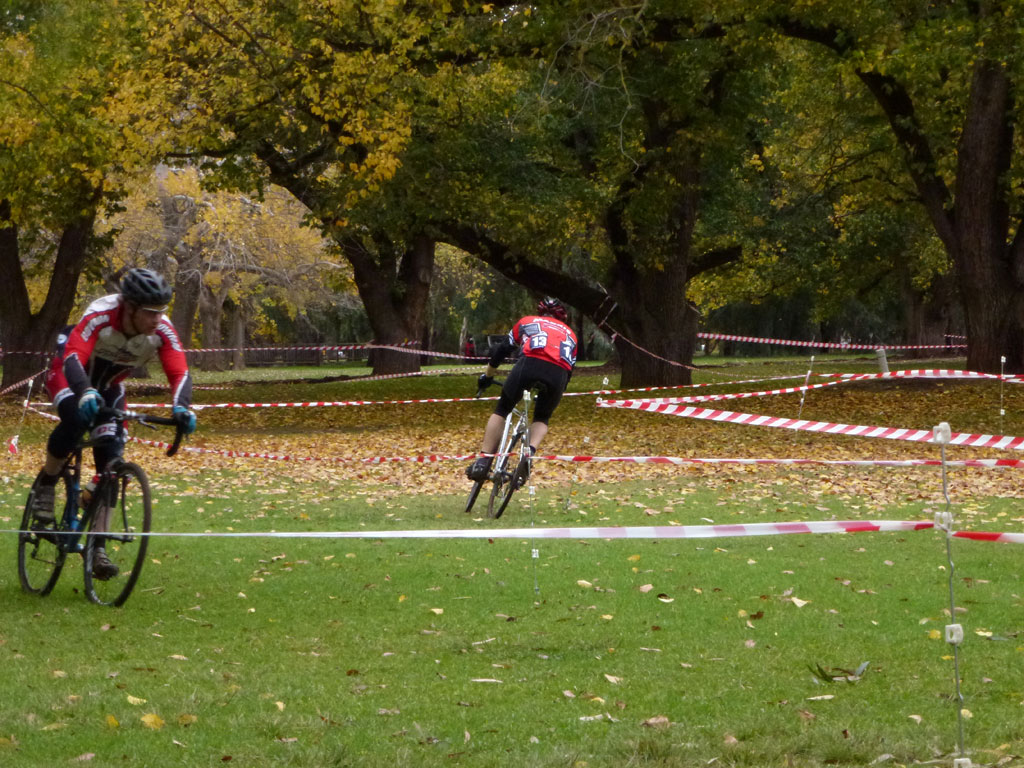
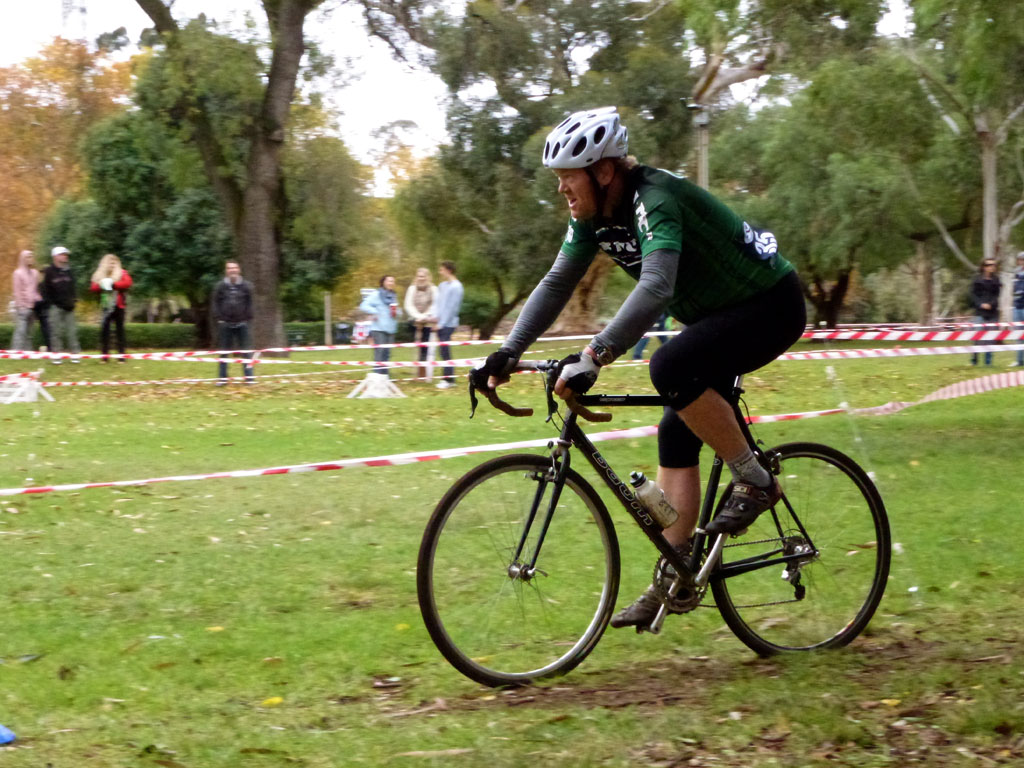
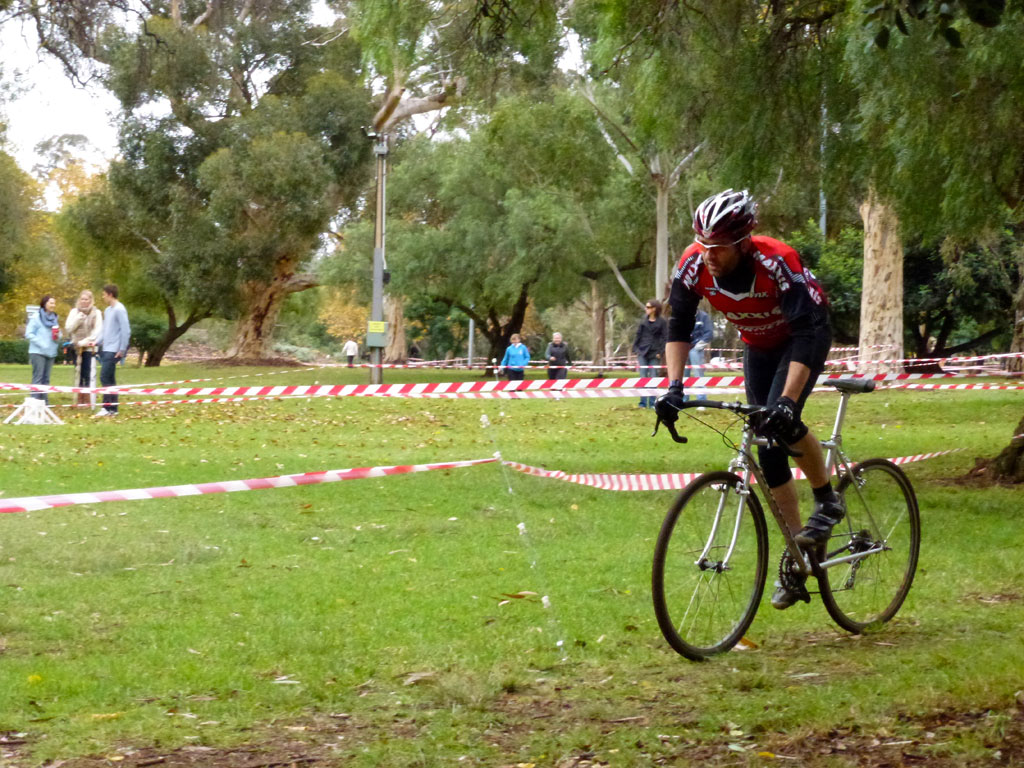
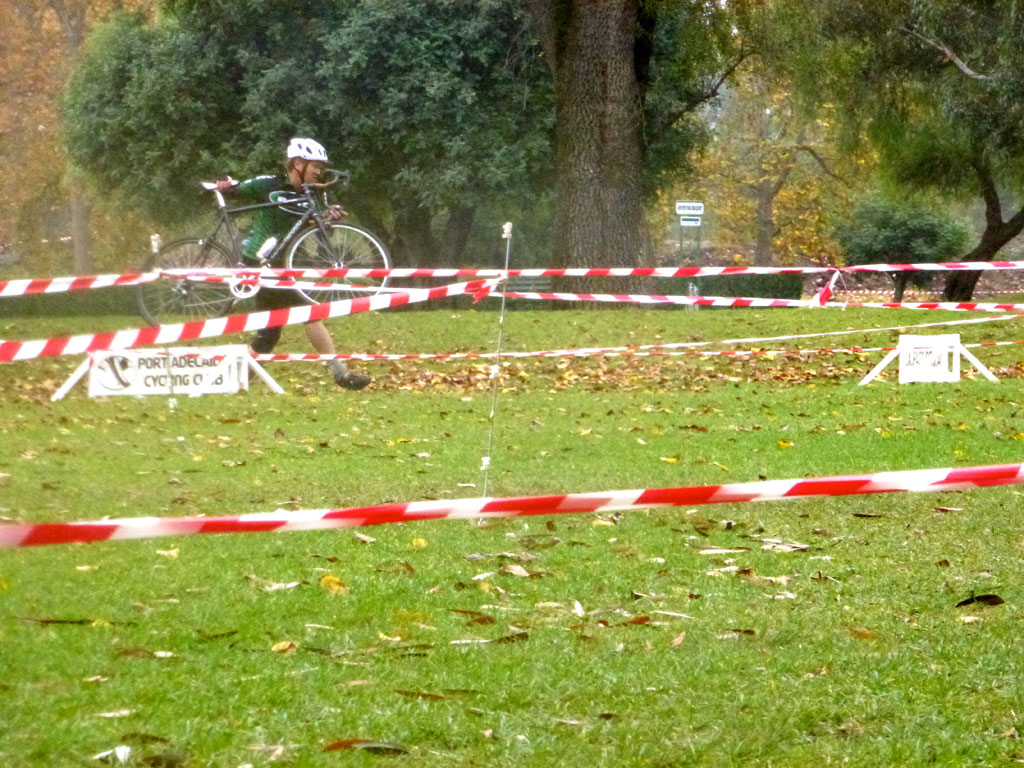
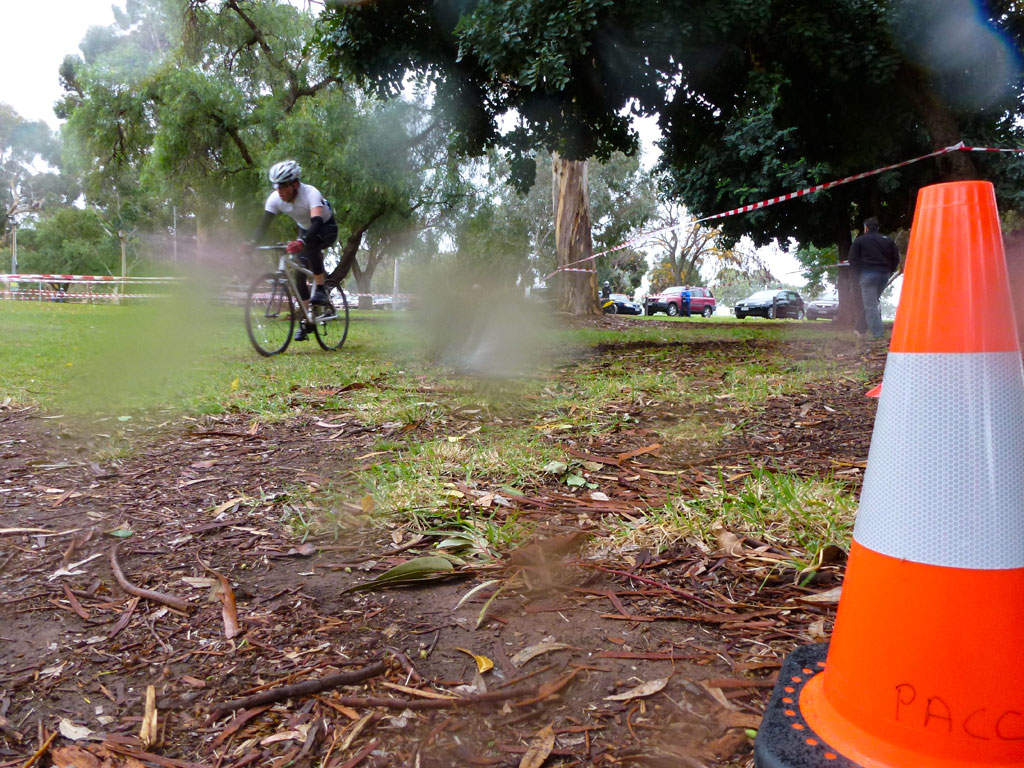
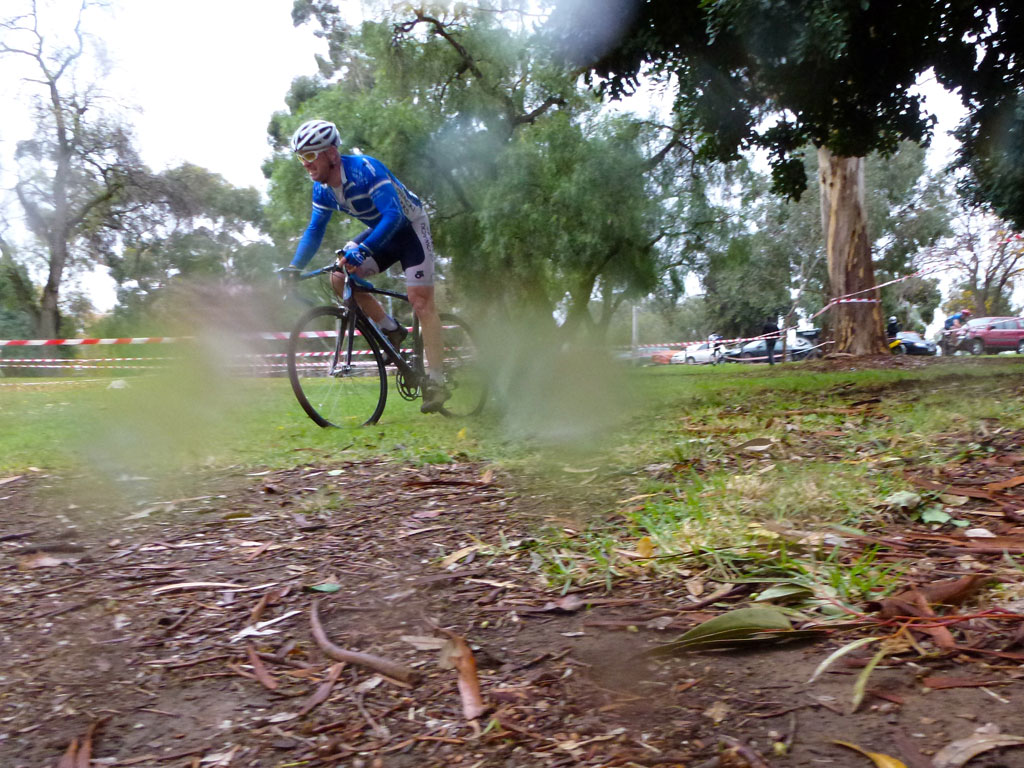
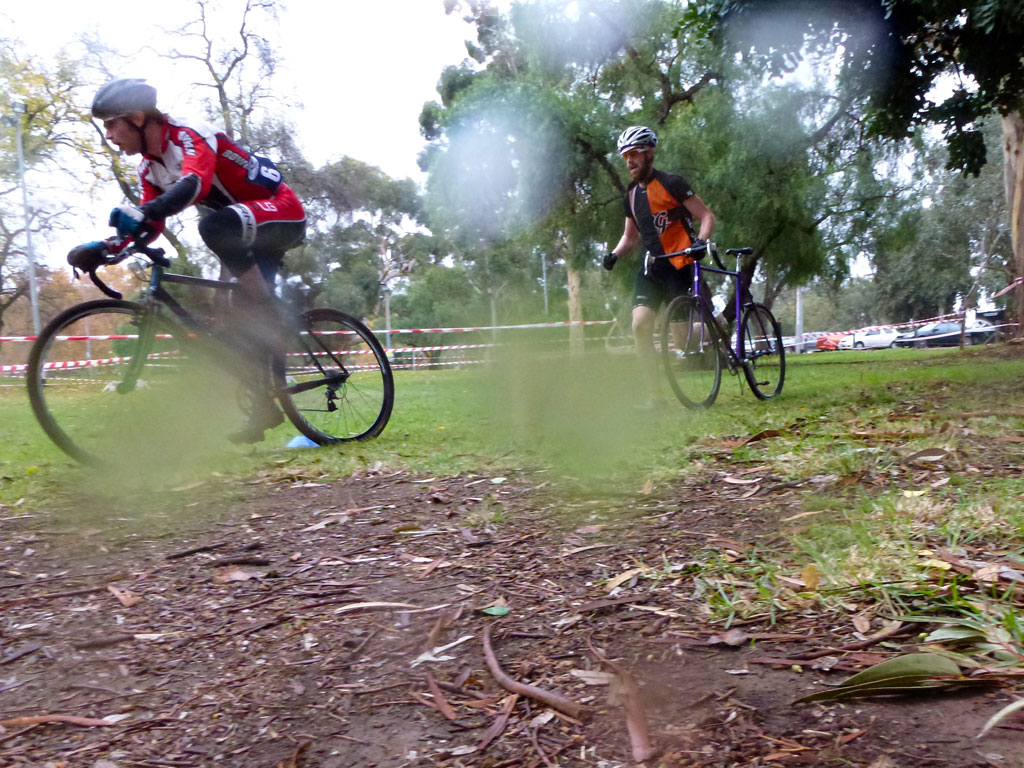
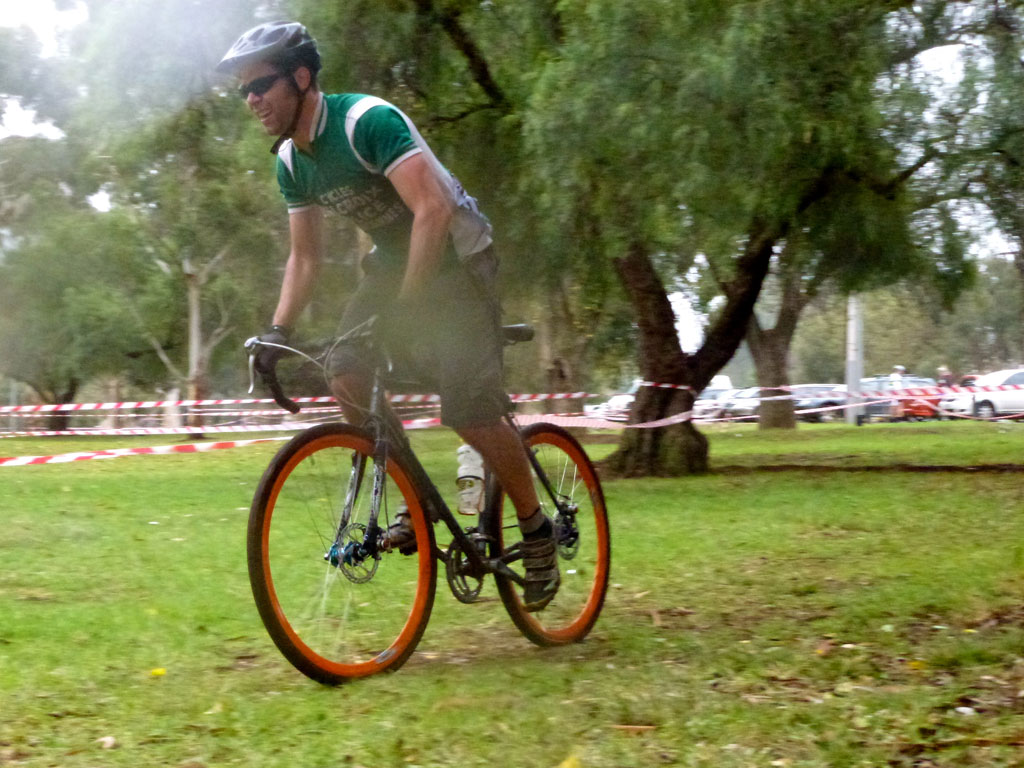
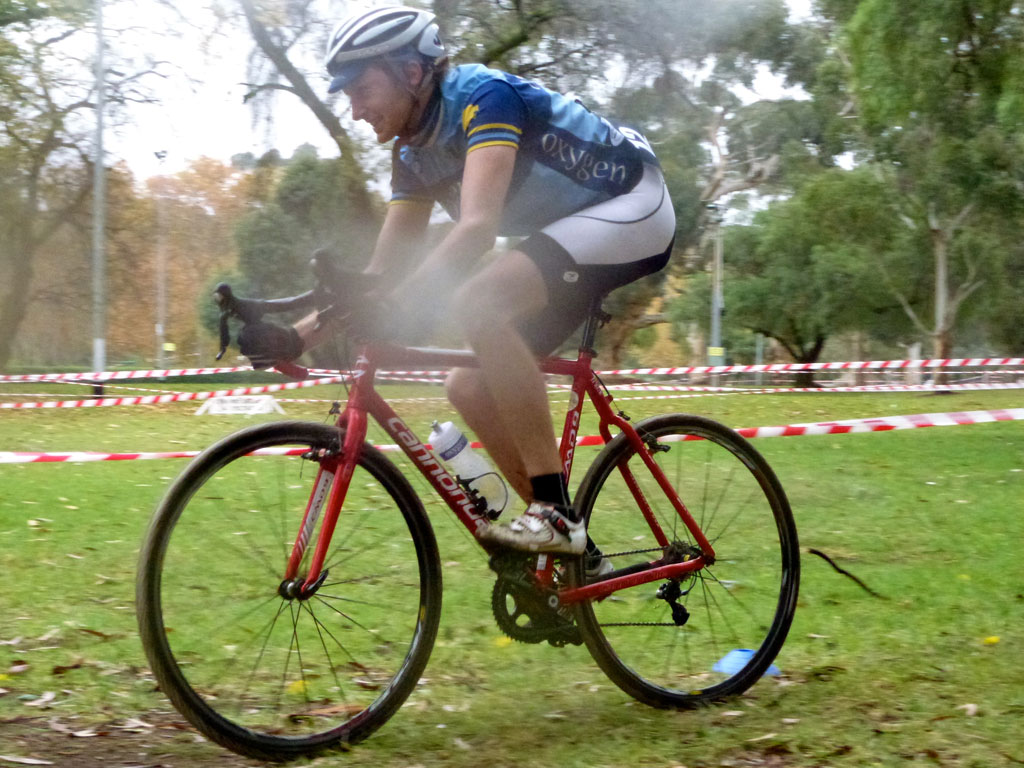
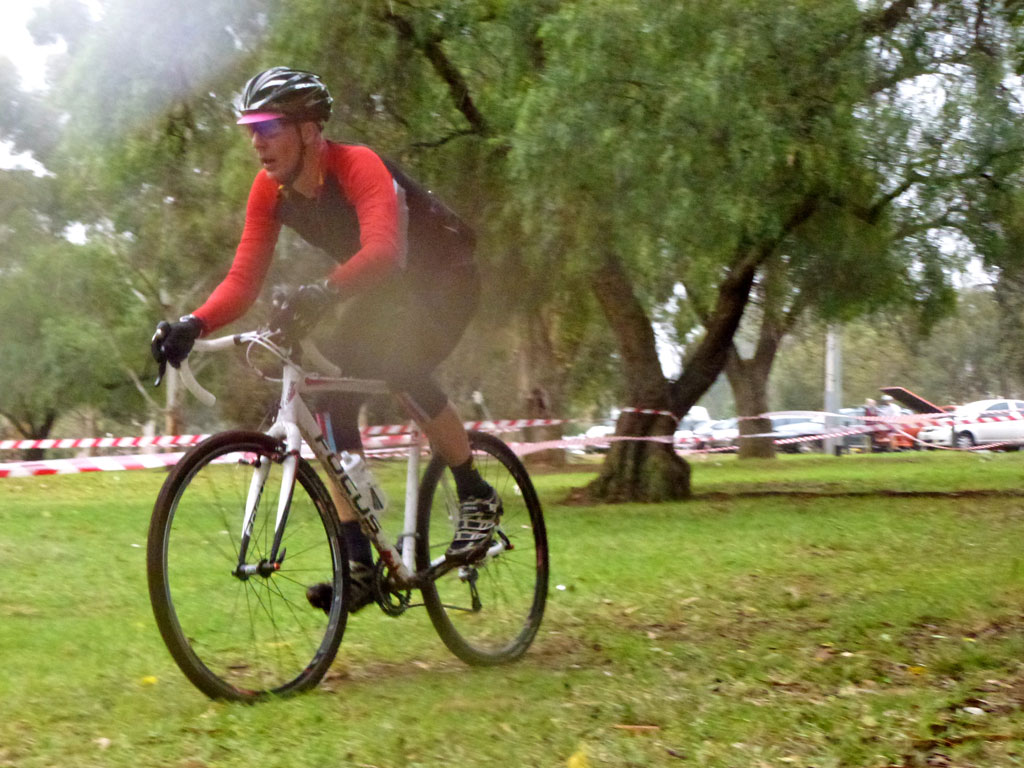
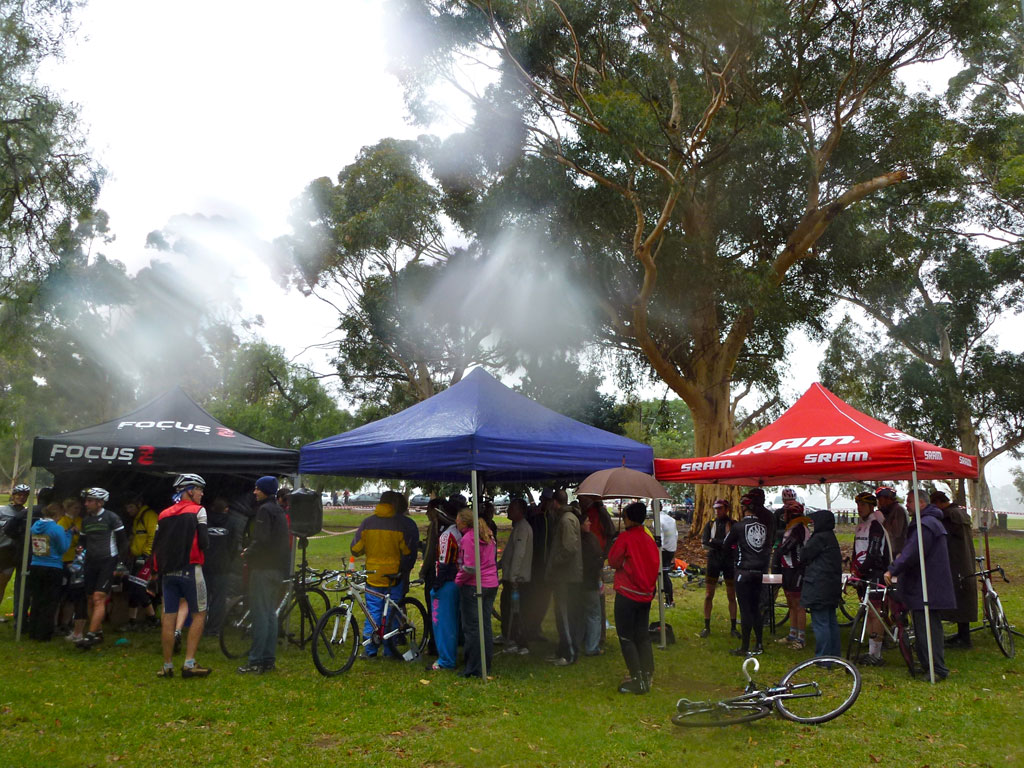
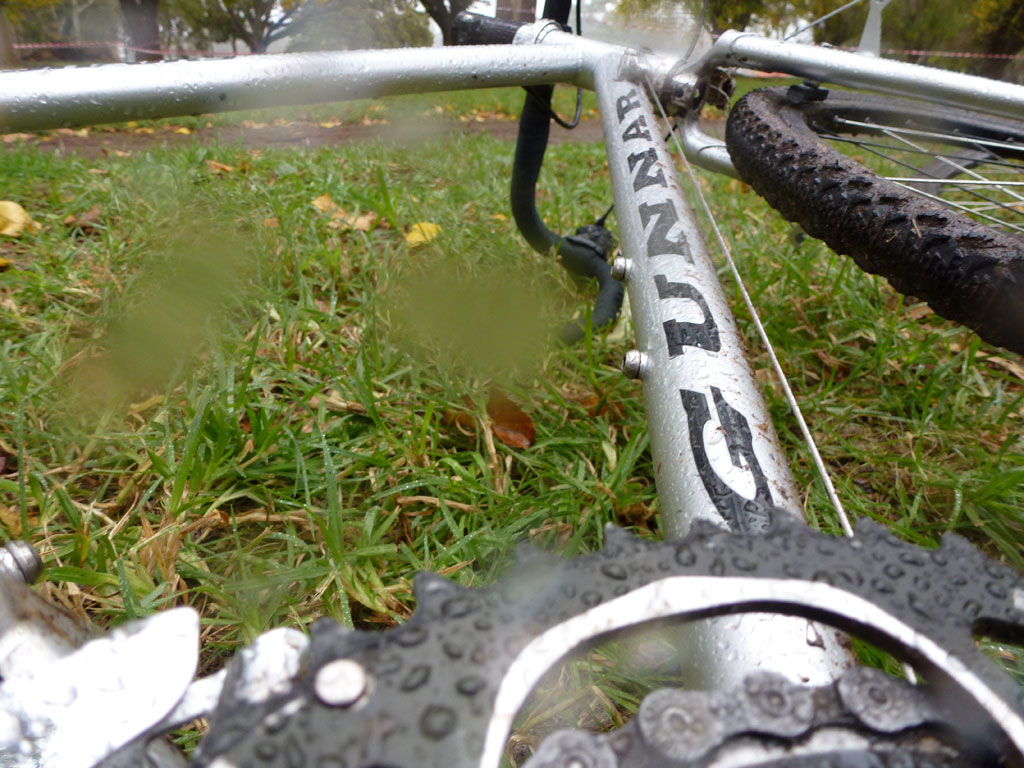
Photos from the 2011 PACC cyclocross series, race 2. Video and results over on the PACC blog.

If you recall, I swapped the 2.1″ Ignitors on the Eriksen with some rather heavy 2.35s. A few weeks ago I raced the Ignitors (with Eriksen attached) at the AMTBC MT. Torrens enduro. Overall, the 2.35″ Ignitors performed well. More specifically, the 2.35s were noticeably slower on the climbs (it wasn’t me, really), but more than made up for any shortcomings on the way back down.
The downhills at Mt. Torrens are a lot of fun with fast rocky sections, several ramps, berms and other potentially painful features. With my new monster-truck tyres I was able to catch other riders on the downhills and have a lot of fun doing it. So, the 2.35s are staying and I’ll just have to deal with the climbs.
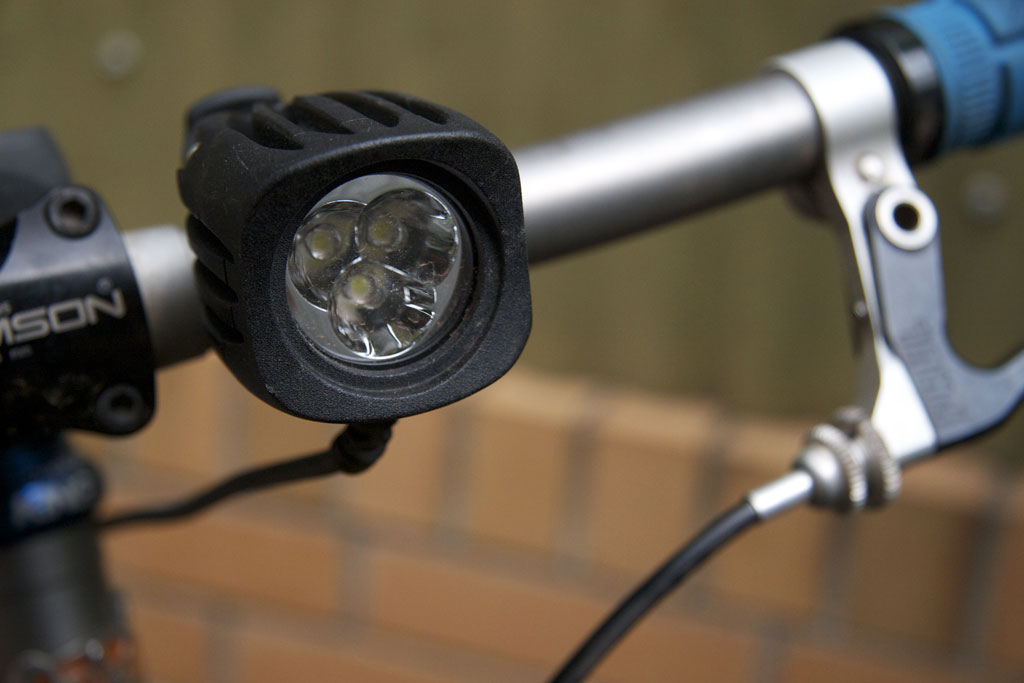
Also of interest may be my new lights. The Mt. Torrens enduro was held in the afternoon with approximately three hours of daylight and three hours of night riding. Prior to this race I had been using a NiteRider MiNewt Mini USB, a 115 lumen light. For this race I used a new bar-mounted NiteRider TriNewt, which comes in at just under 500 lumens.
I ran the TriNewt in the reduced brightness mode for a reported seven-hour battery life during the night portion of the race. Prior to the race I hadn’t noticed much diffrence between the full and reduced brightness modes, and found the light in this mode more than adequate for the race.
I brought the MiNewt Mini USB as a backup light, but I never felt a need to use it. Since the race, I’ve purchased a helmet-mount kit for the MiNewt Mini USB. I haven’t had a chance to use it yet, but I’m curious to see if it is a worthwhile addition to the TriNewt.
If you’re interested I ended up finishing in the middle of the men’s solo class, even with an unscheduled coffee and photo break– full results over at AMTBC.
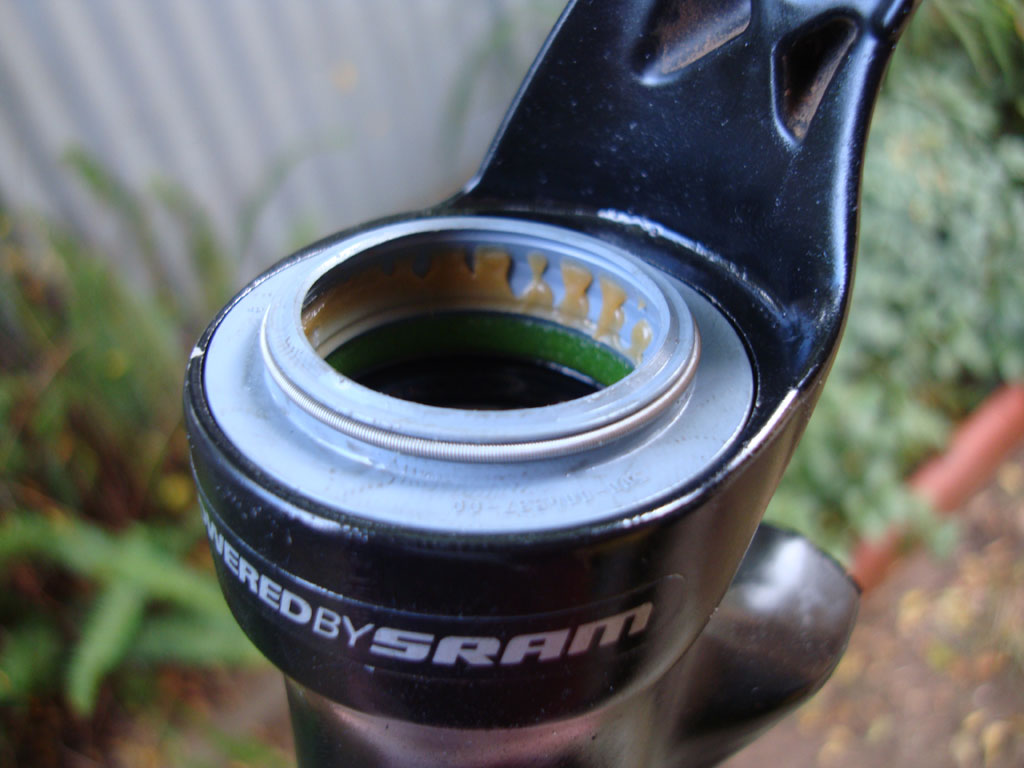
Prior to the Mt. Torrens enduro I converted the ’08 Reba Race from 100mm to 115mm. I wasn’t convinced this is what I wanted long term, but I wanted to give it a try. Well, after a few rides and the enduro I converted the Reba back to 100mm. Why? The fork went from fairly stiff and generally nice to noticeably flexy and generally frustrating.
During the conversion back to 100mm I replaced the fork oil (again) and the dirt/oil/foam seals on the fork lowers. Thanks again to BMCR for having the parts in stock. Anyway, replacing the seals is fairly easy, and the now that the fork is back to the “right” height everything feels a lot better. In any case, my rebuild proved a lot cheaper than some others I’ve recently heard about.
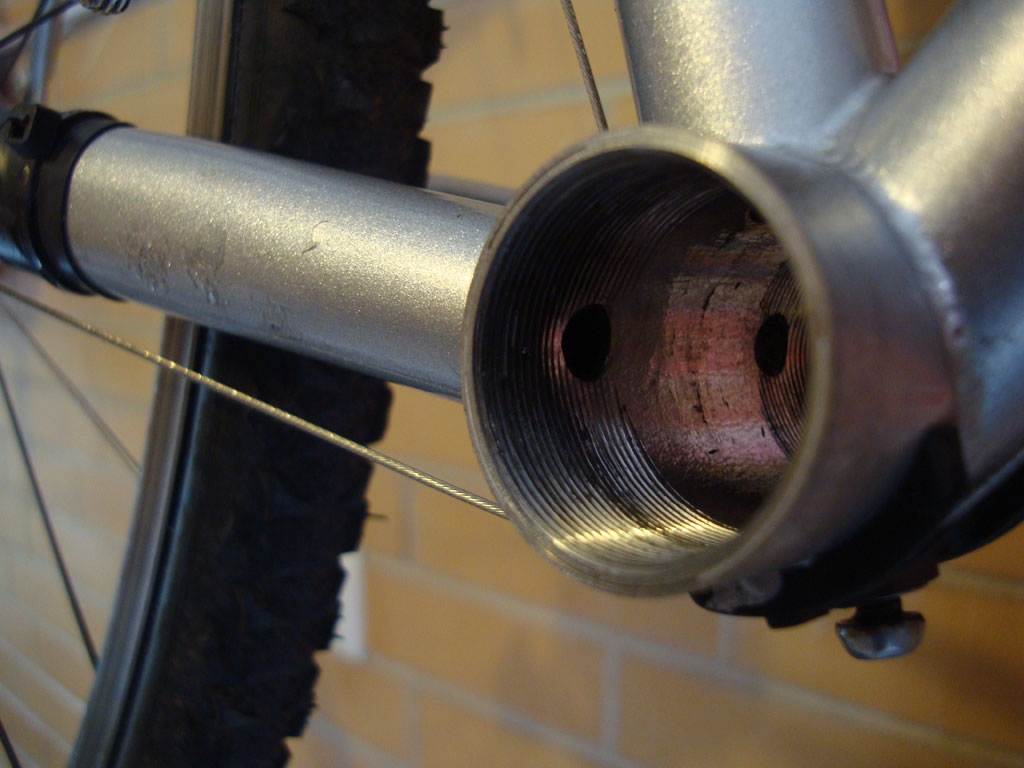
Want more? I’ve been getting the Gunnar in shape for the next cyclocross race and had the bottom bracket faced, thanks to Brian at Road Rage Cycles. This may seem like an odd thing to do to a 10-year-old frame, but I noticed my external-bottom-bracketed FSA cyclocross crankset didn’t spin nearly as freely as the more road-friendly 105 Octalink crankset I had been using. Instead of going nuts with a White Industries VBC crankset, I tried the cheaper option of fixing what I already had. I’m happy to report that the FSA crankset now spins nicely and all is ready for the upcoming race.
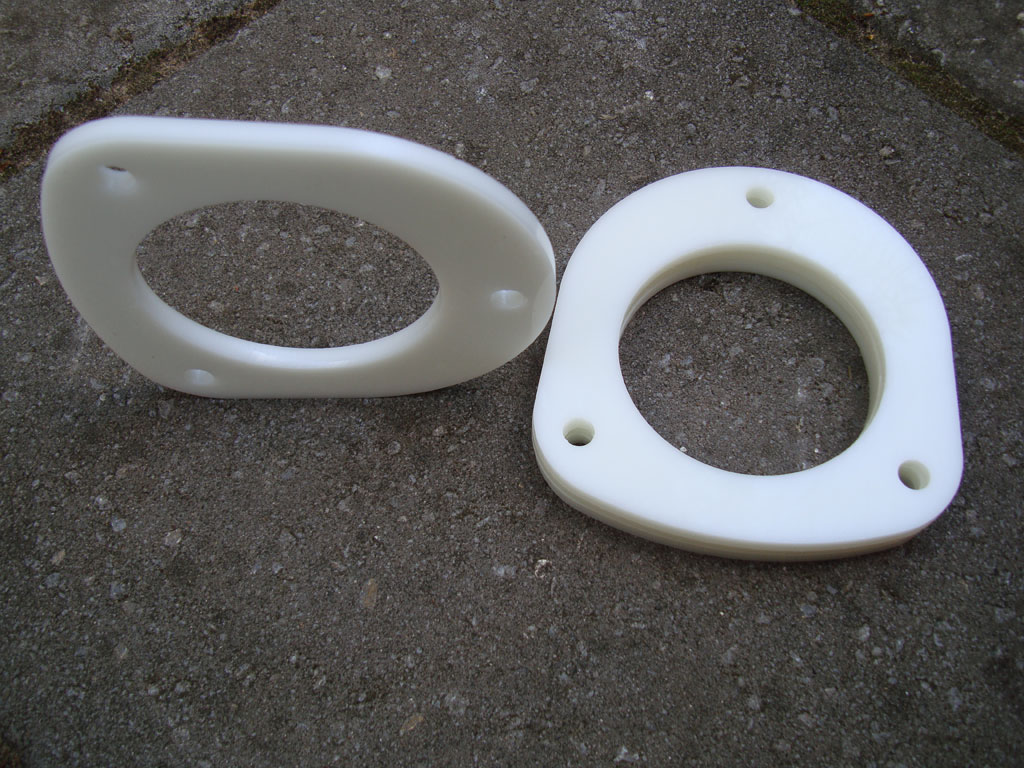
The Forester, much like just about every other Subaru, had some fairly pronounced rear suspension sag. I addressed this issue on the old 2007 Outback Sport by swapping the front springs for a shorter pair off of a WRX. This time I wanted to keep the front end where it was and instead raise the rear.
This Forester has a nifty mechanical self-leveling rear suspension. If I understand it correctly, the rear struts have a ratcheting mechanism that will automatically maintain the strut length at a pre-determined setting no matter what the suspension load. This being the case, a taller pair of springs would not alter the rear ride height. However, raising the body on the strut tops will raise the ride height.
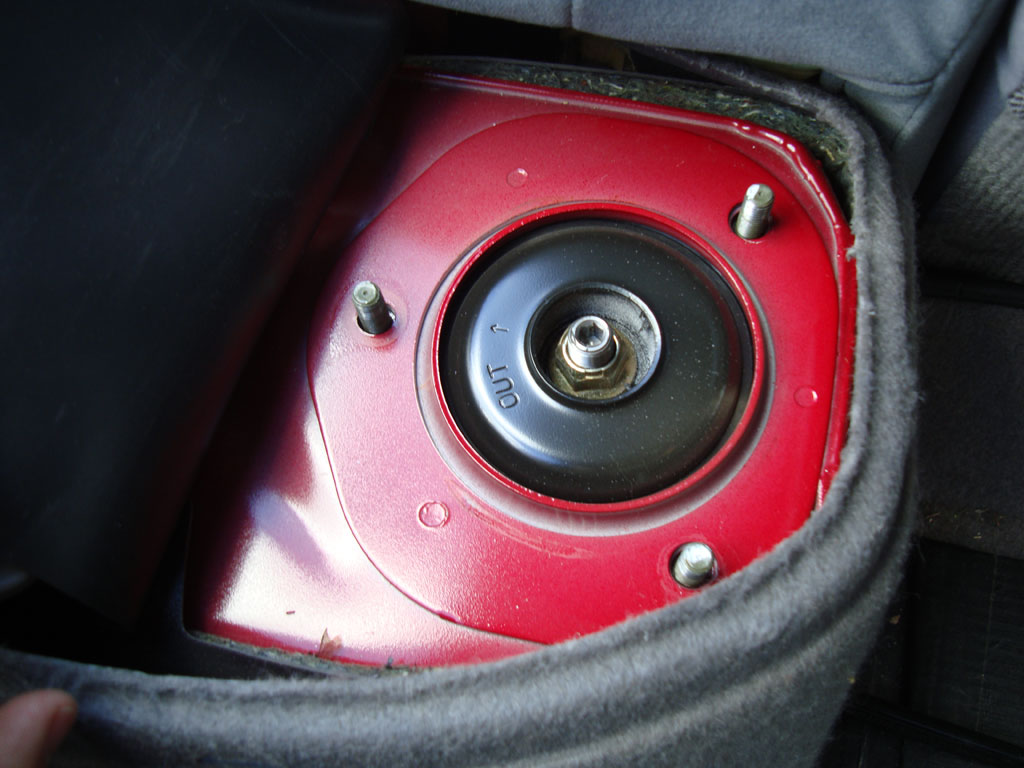
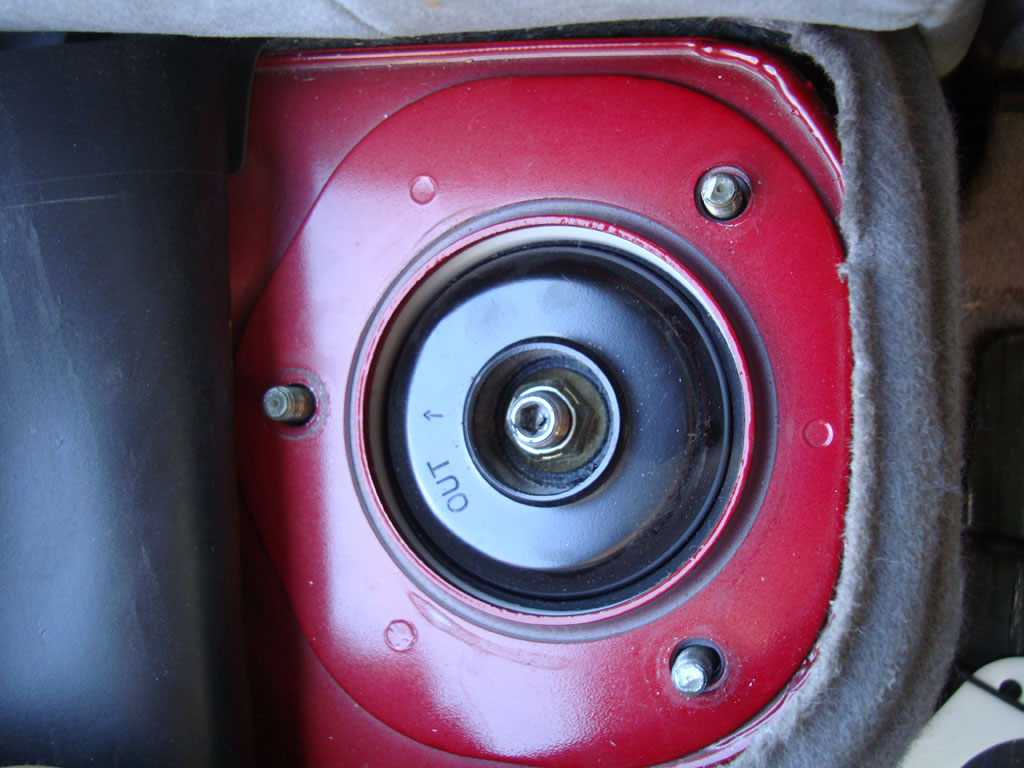
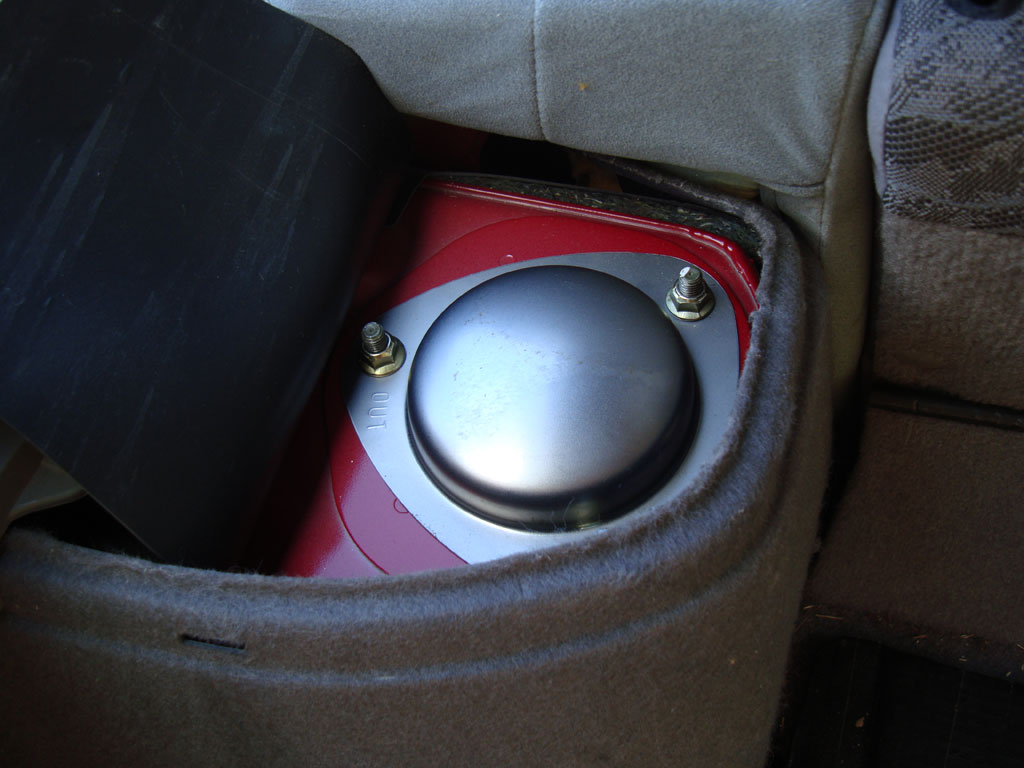
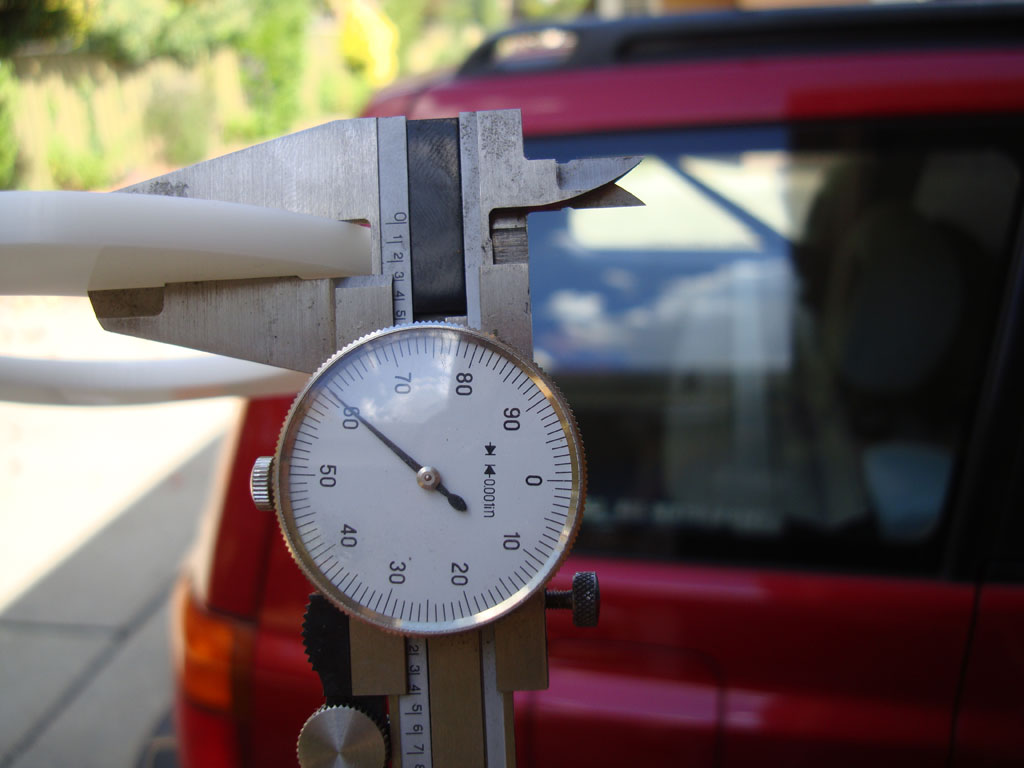
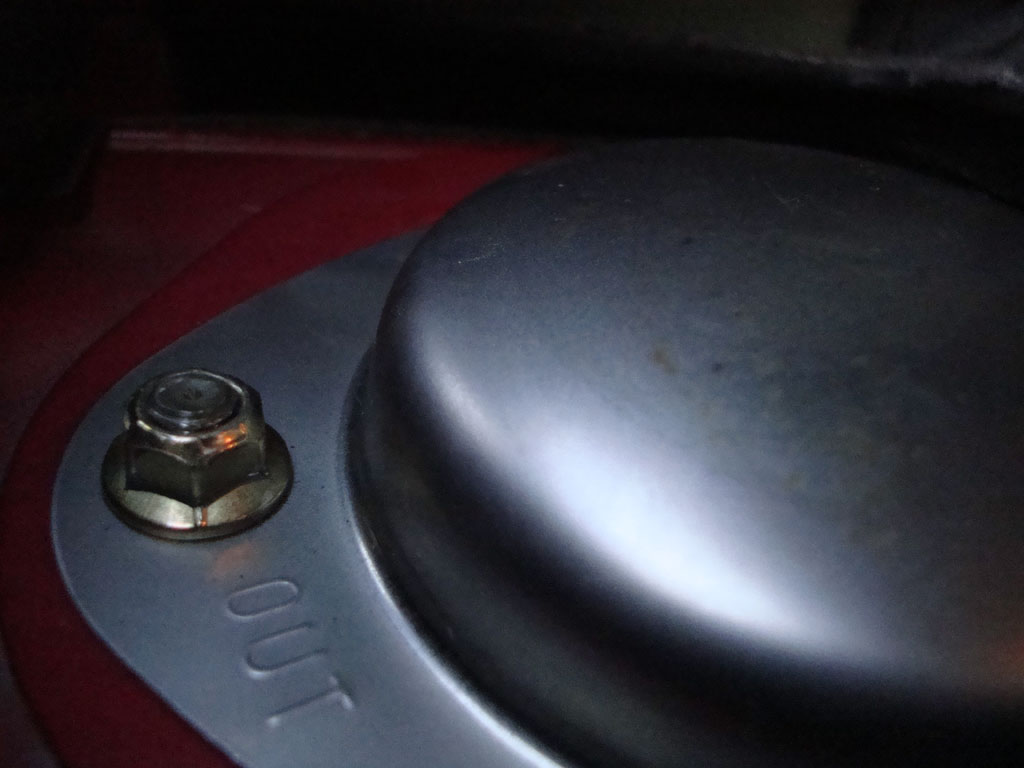
As luck would have it, I found some ‘saggy butt’ suspension spacers from Subtle Solutions which are specifically designed to address my sagging suspension. The spacers are made from 0.25″ HDPE plastic and fit between the strut tops and the body. Here’s what I did and what happened:
Tools:
Time:
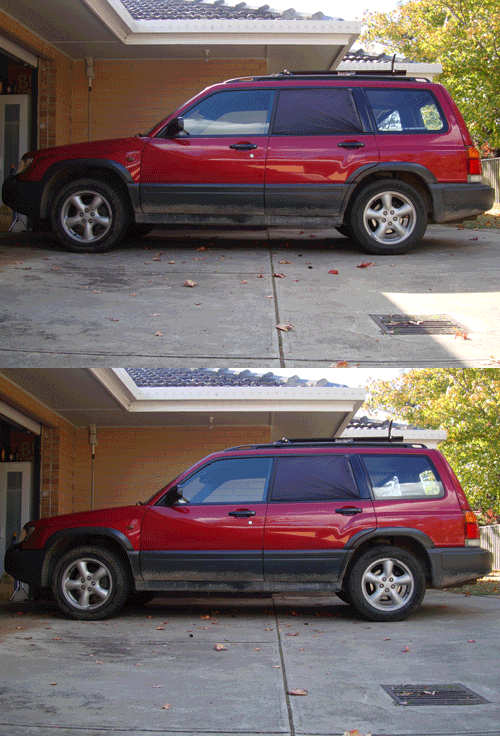
Before and After Measurements:
| Original Wheel Arch Height | Wheel Arch Height with Rear Spacer Installed | |
|---|---|---|
| Front (avg. L/R) | 73.6 cm | 73.8 cm |
| Rear (avg. L/R) | 71.0 cm | 72.9 cm |
Note: I drove about 50km to settle the suspension prior to measurement.
Procedure:
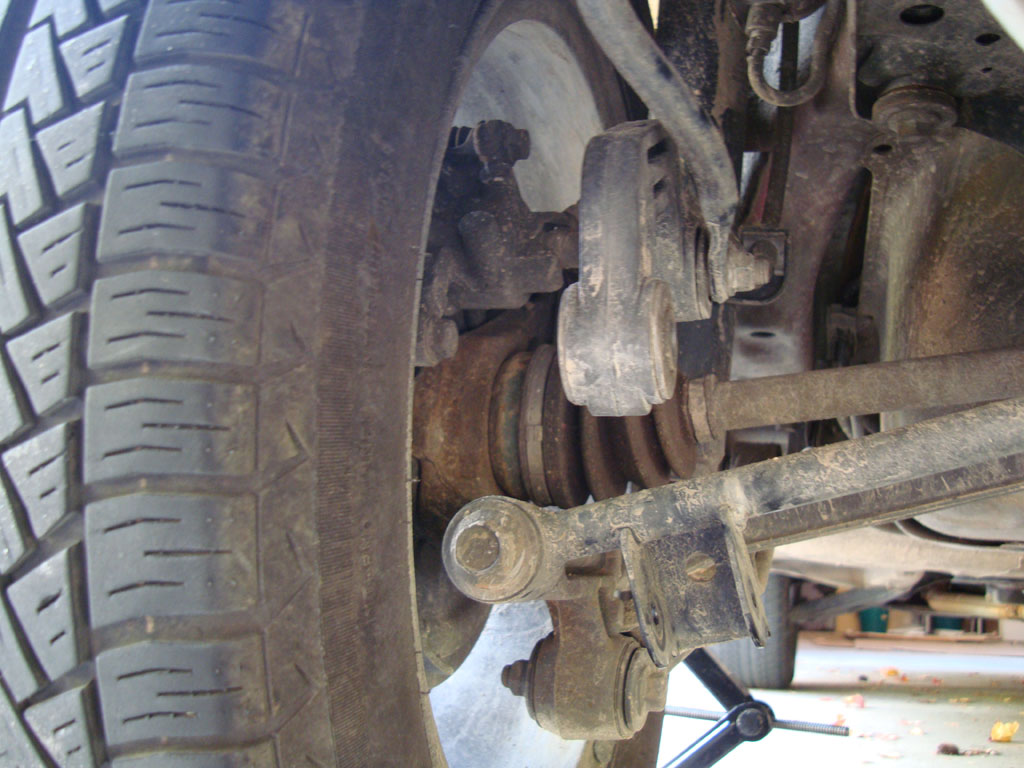
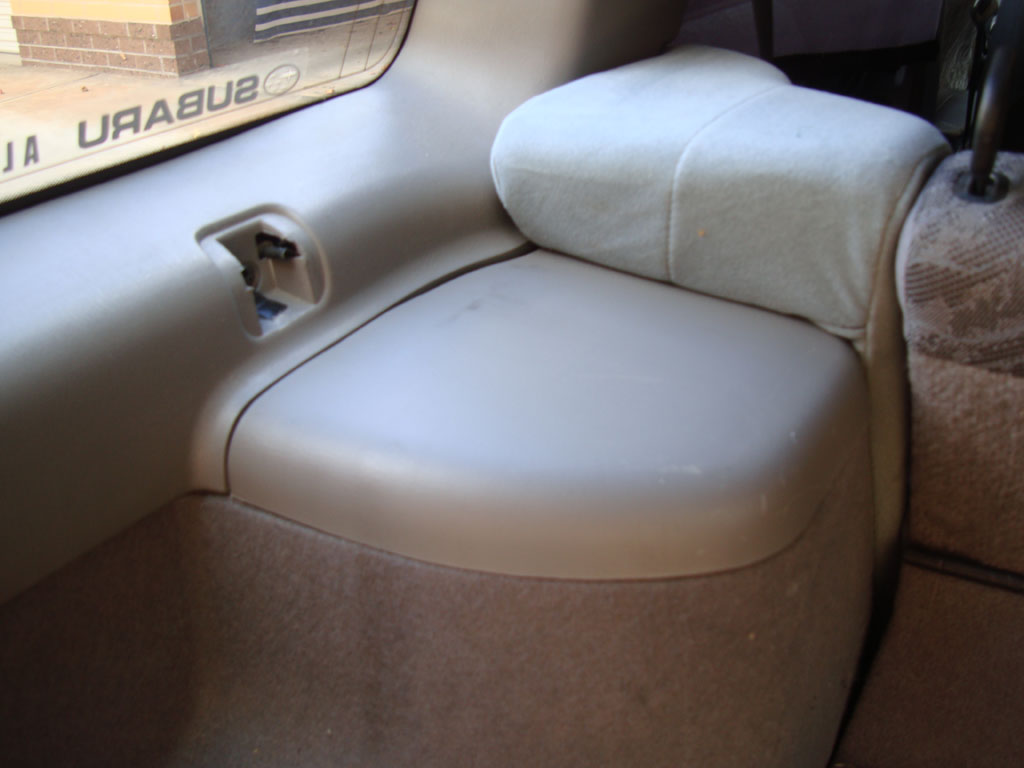
Install Photos: