
Tag: OS X
-
Trash Server
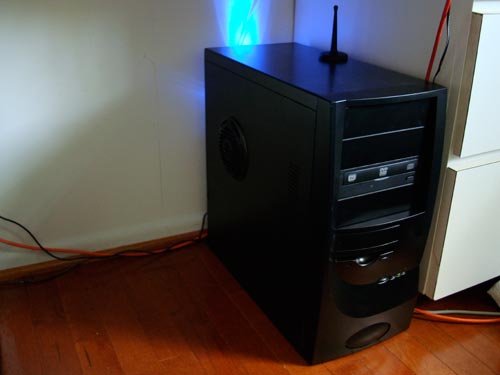
Many loyal readers may remember Trash PC, a Pentium-4-packing beige tower that I recovered from the garbage. The Trash PC is now Trash Server. As a server, it was necessary to paint Trash PC black (all servers are black, didn’t you know?). This was accomplished with a partial can of automotive trim satin black paint.…
-
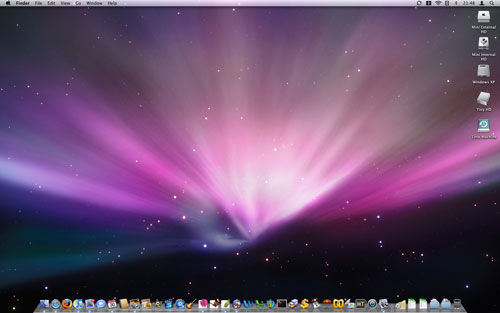
Mac OS 10.5
Another Apple Review? Leopard arrived on my doorstep (along with some new hard drives) Friday morning. While I won’t be giving a full review, I will share some of my observations after a few days of use. For an excellent full review, check out Ars Technica. Installation I installed 10.5 on two of the three Macs…