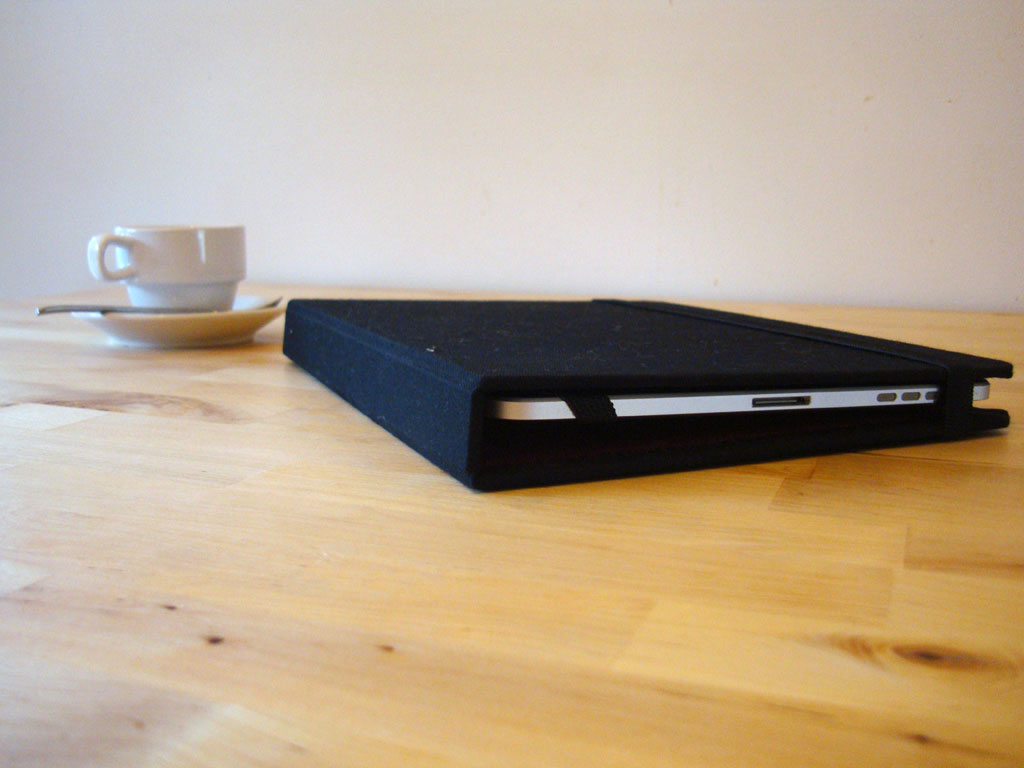
iPad Case
Monday, August 2nd, 2010In the previous iPad post I mentioned this case design. Here’s my version. The procedure is documented fairly well on the linked page, so I’ll just cover the highlights. I used the same basic plans, but changed most of the materials. My materials list includes:
- 3.0mm MDF
- Cotton fabric, black
- 13mm elastic, black
- Felt, A4, ruby (dark red)
- PVA glue, spray adhesive, fabric cement
I started off cutting the 3.0mm MDF into two 20 x 25cm covers and a 2.5 x 25cm spine. I rounded the corners of the covers with both clamped together so the covers would match. Behind the covers you’ll notice that trash server now has a display. Sanding MDF makes a lot of dust, so having a garage computer was useful during the case build.
Back to the case: I glued the cotton fabric to the covers and spine with spray adhesive. The spacing between the covers and spine is 3.0mm; I used some scrap MDF to align the pieces. The cotton fabric that I chose has the weight and texture of light canvas or perhaps a cheap suit.
After the glue set I wrapped the fabric around the covers and attached the flaps with PVA glue. I pressed the cover for about 30 minutes before continuing to the next step. The next step, pictured above, was to punch the cover for the elastic band using the 2.5cm spacing recommended in the original article. For this I used a my split-window-bus-door-hinge-removing flat blade screw driver and a hammer. After threading the elastic through the back cover, it was further secured using fabric cement.
Skipping ahead, I have the elastic bands for iPad retention attached with staples and fabric cement to a piece of card stock/cereal box, which is in turn adhered to the back cover with PVA. The dark red felt is attached to the inside of the covers/spine with spray adhesive. The felt is cut to allow the elastic bands to pass through. There is a seam between the felt (above) and a piece not pictured. The seam is small, but it would be visible if not covered by the iPad. The fully assembled case was pressed under the considerable weight of a phone book, 4.5 kg box of economy laundry detergent, a bike repair manual and a short length of railroad track.
Here is the finished product. Above you will see the case open with the iPad mounted.
Here the case acts as a convenient stand.
Finally, the case can be used to angle the iPad slightly towards (or I suppose away) from you.
Overall, the case turned out well. However, I’m going to make one change next time. –Yes, there will be a next time as I have stacks of MDF, fabric and adhesives. The felt liner has a larger margin at the top and bottom due to the A4-sized sheets; seams in the felt would have been visible if the felt was aligned in the other direction. The solution is obviously a larger sheet of felt. Fortunately, I found a local shop with rolls of felt available by the meter, though not in this nice dark red.
I estimate the total cost of materials in this case around $3-5 AUD. The purchase price of all the materials was closer to $30 AUD with a significant remaining surplus of everything but the felt and elastic.