Forester Suspension Sag
Wednesday, April 27th, 2011![]()
The Forester, much like just about every other Subaru, had some fairly pronounced rear suspension sag. I addressed this issue on the old 2007 Outback Sport by swapping the front springs for a shorter pair off of a WRX. This time I wanted to keep the front end where it was and instead raise the rear.
This Forester has a nifty mechanical self-leveling rear suspension. If I understand it correctly, the rear struts have a ratcheting mechanism that will automatically maintain the strut length at a pre-determined setting no matter what the suspension load. This being the case, a taller pair of springs would not alter the rear ride height. However, raising the body on the strut tops will raise the ride height.
As luck would have it, I found some ‘saggy butt’ suspension spacers from Subtle Solutions which are specifically designed to address my sagging suspension. The spacers are made from 0.25″ HDPE plastic and fit between the strut tops and the body. Here’s what I did and what happened:
Tools:
- 12mm socket and wrench
- 14mm box-end wrenches (2)
- floor jack
Time:
- 15-20 minutes per side
Before and After Measurements:
| Original Wheel Arch Height | Wheel Arch Height with Rear Spacer Installed | |
|---|---|---|
| Front (avg. L/R) | 73.6 cm | 73.8 cm |
| Rear (avg. L/R) | 71.0 cm | 72.9 cm |
Note: I drove about 50km to settle the suspension prior to measurement.
Forester Subtle Spacer Install: Before and After
Procedure:
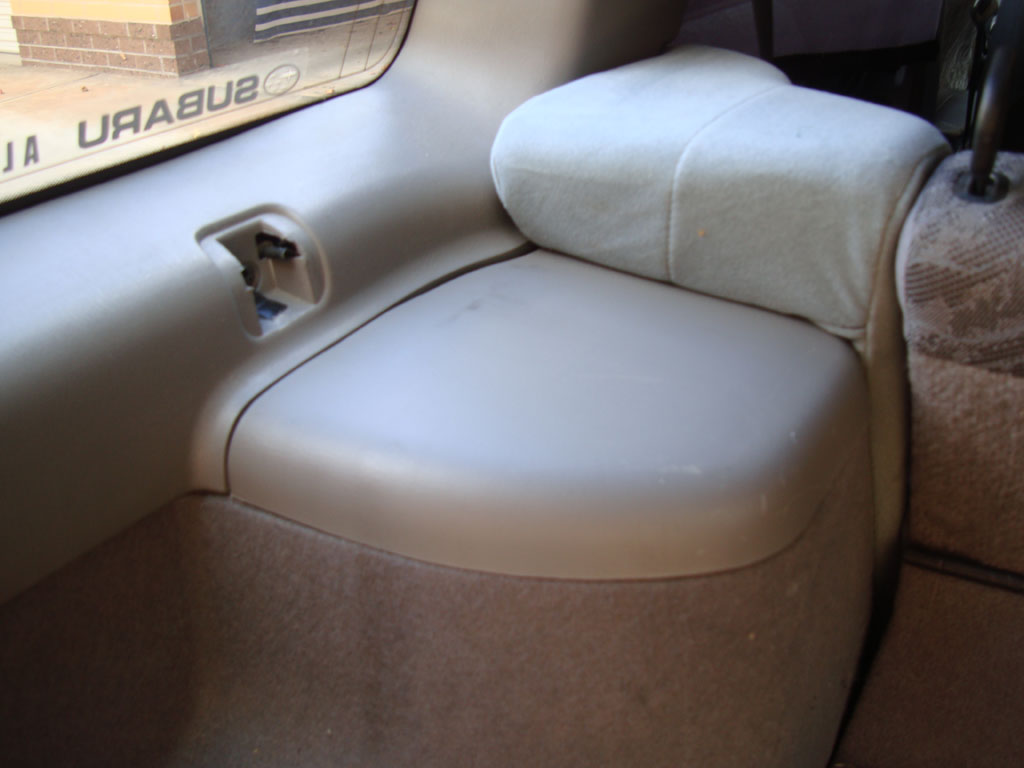
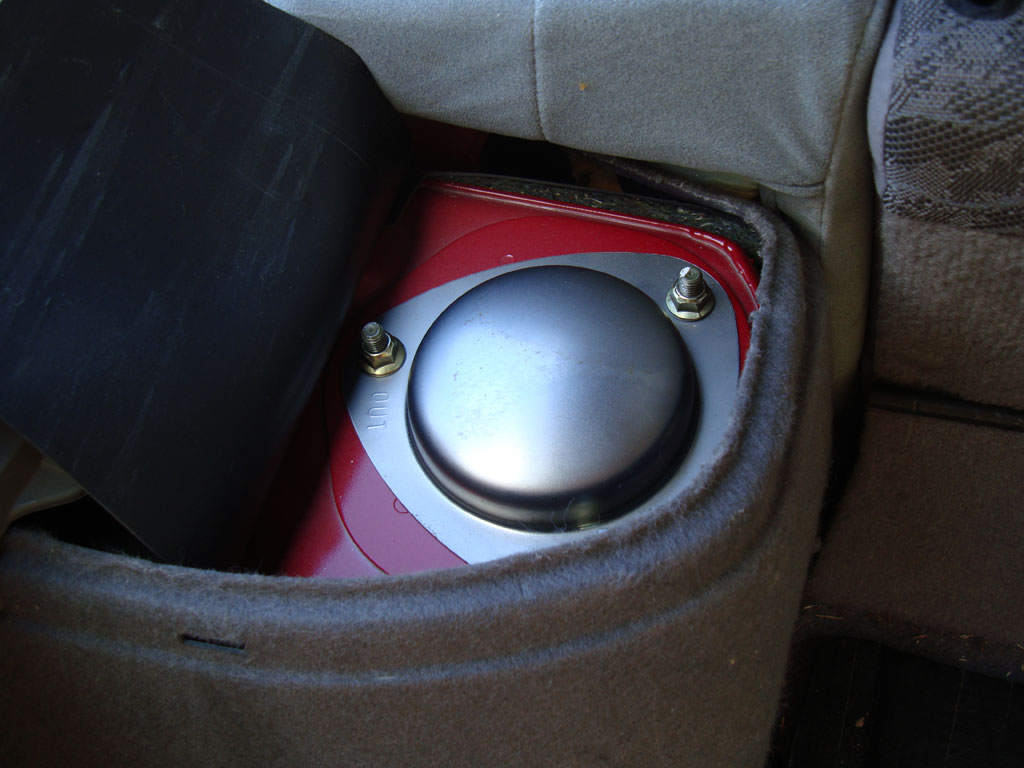
- Remove rear cargo cover, trim covering strut top
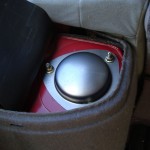
- Remove three 12mm nuts and strut top cover
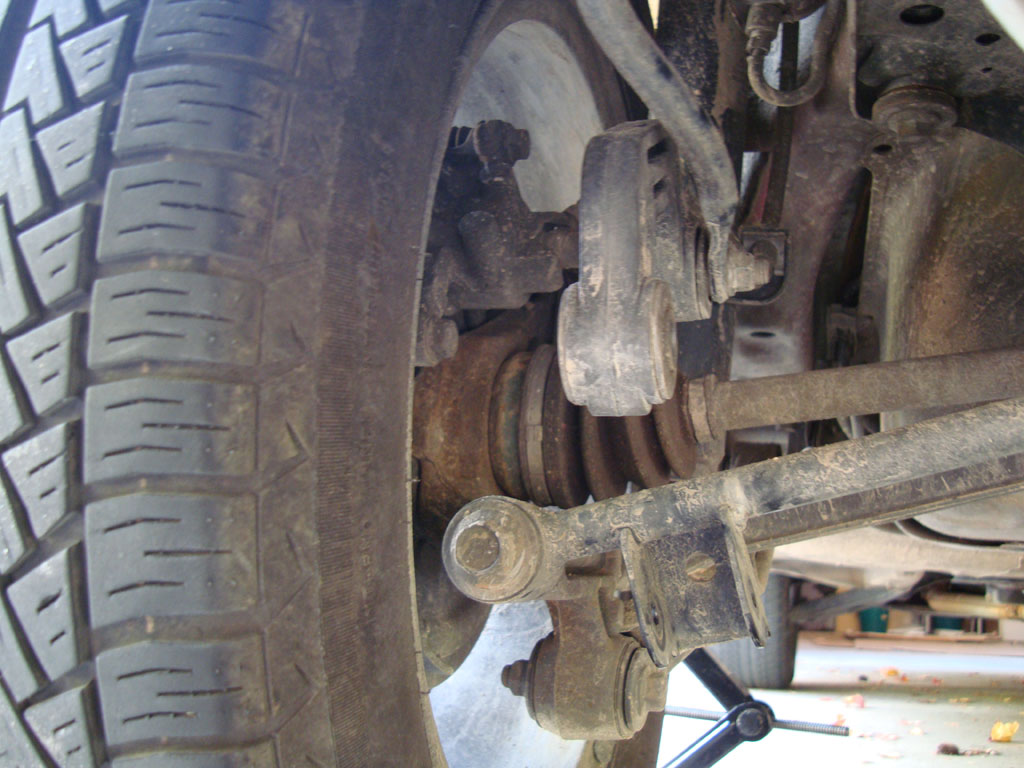
- Disconnect rear sway bar (14mm nut and bolt)
- Raise rear corner of the Forester enough to let the strut top drop and clear the body
- Install spacer(s)
- Align strut mounting studs to body, lower the Forester
- Reinstall strut top cover, reinstall bolts and torque to spec
- Reinstall interior trim, cargo cover
- Reattach rear sway bar
- Repeat steps 1-9 for the other side
Install Photos:
-
- Forester Subtle Spacer Install: Before and After
-
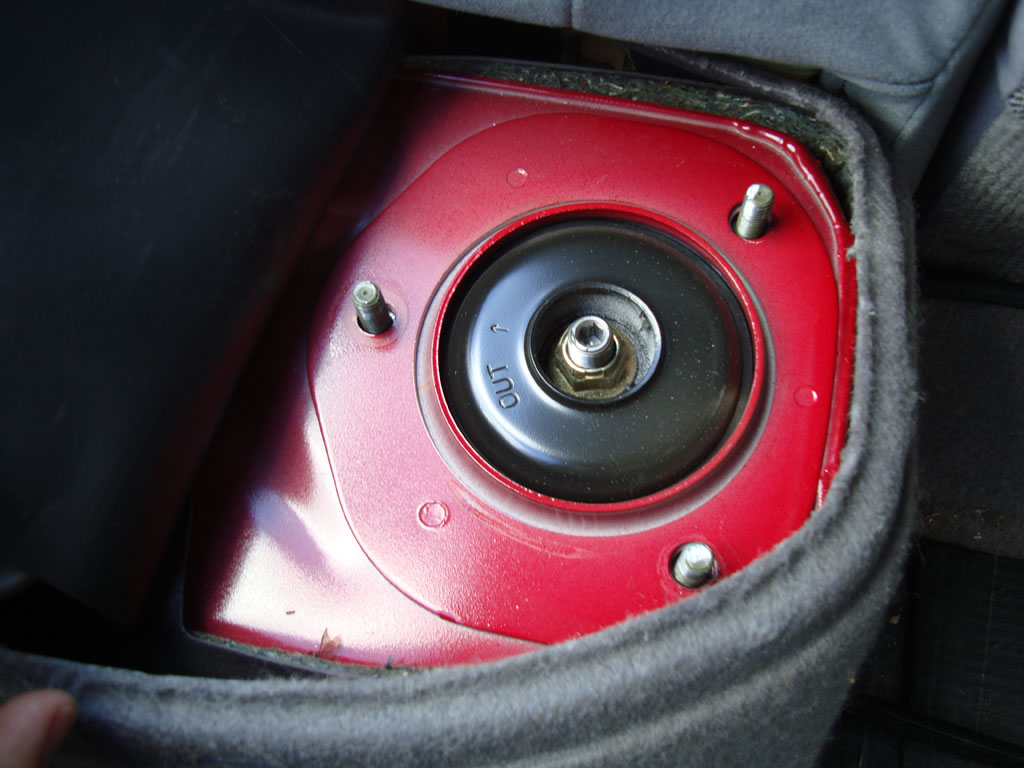
- Forester Cap Removed, No Spacers
-
- Forester Spacer Installed, No Hardware
-
- Forester Sway Bar Disconnected
-

- Forester Trim Installed
-
- Forester Trim Removed, No Spacers
-
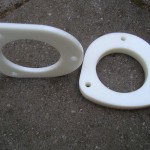
- Subtle Spacers
-
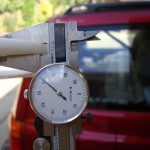
- Subtle Spacer Thickness
-
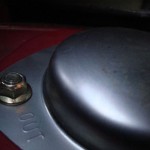
- Forester Strut Studs, One Spacer Installed


