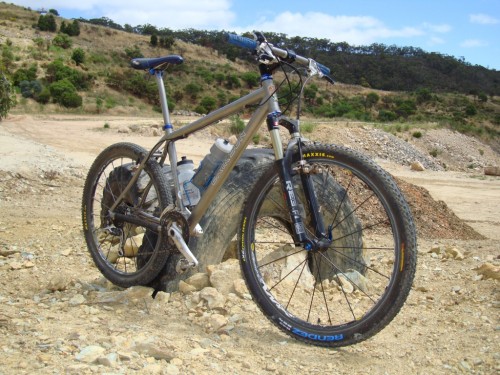
I’ve always liked v-brakes. They are simple, they work, and they are reliable. But, recently I’ve been having some issues with my favorite v-brakes, my Paul’s Motolites.
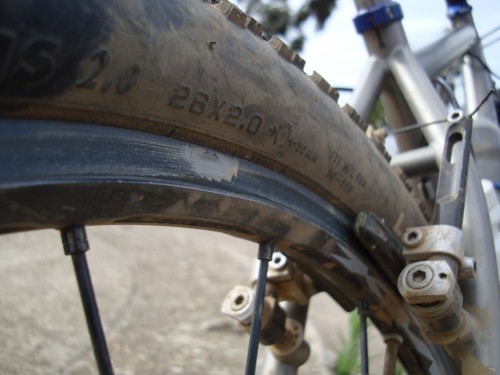
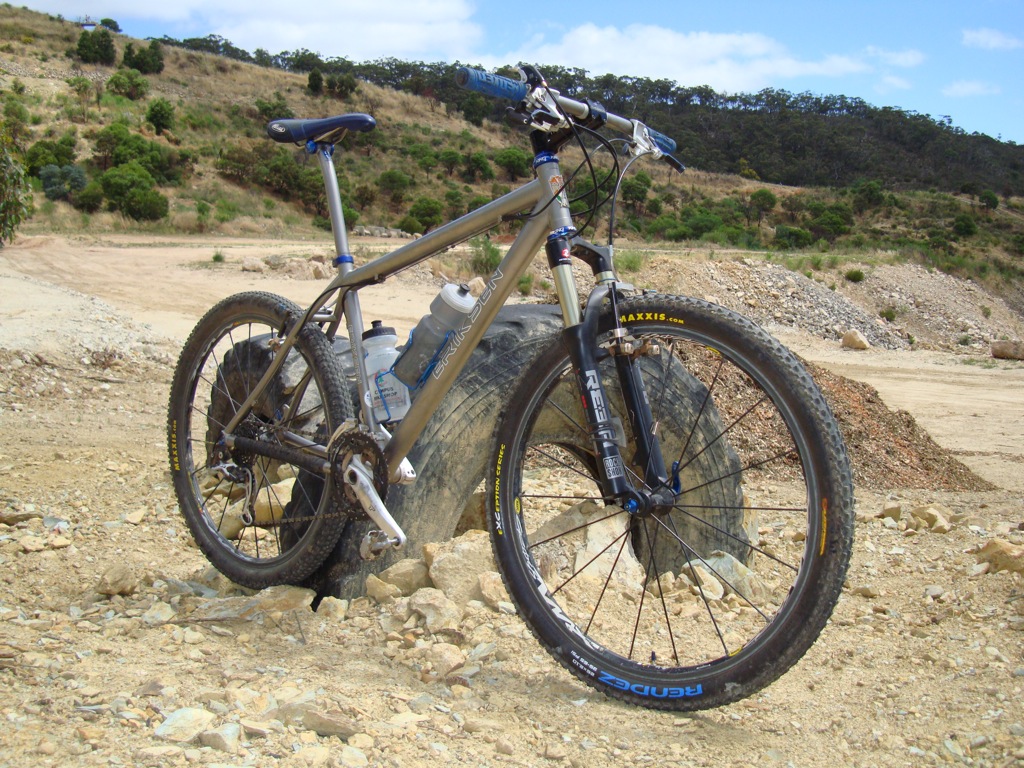
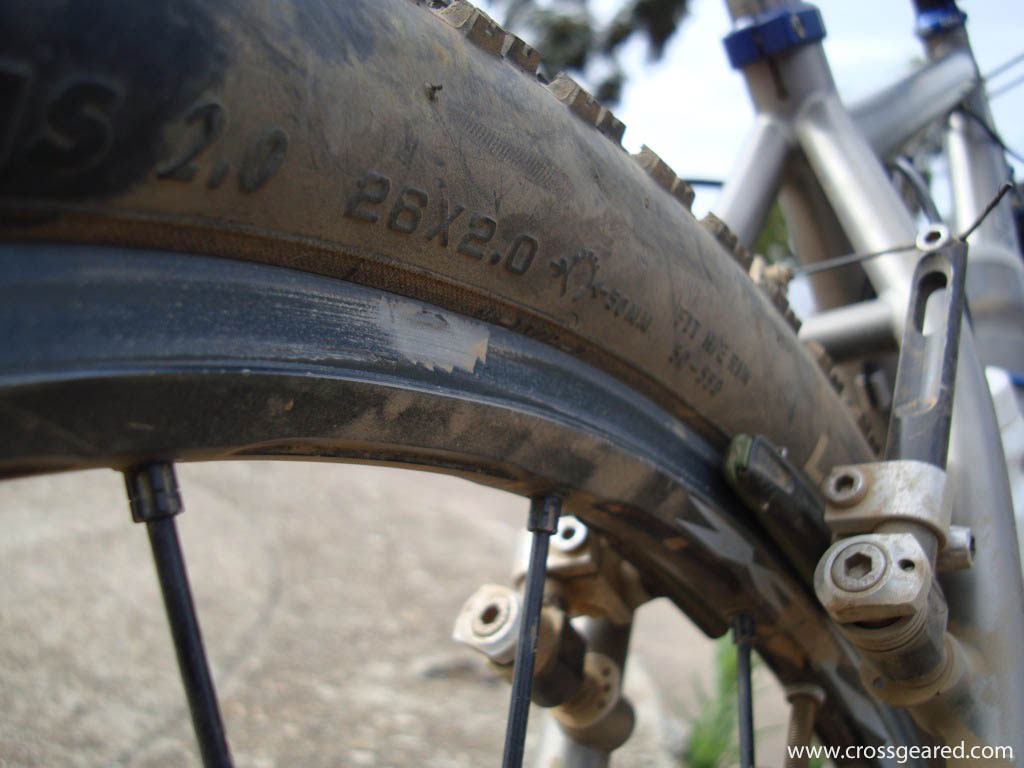
The first problem really isn’t a problem with the brakes, but more the wheels. I managed to flat-spot the rear Crossmax ST on the UK-14’er (aka Kent Eriksen Ti Hardtail). While this could easily be attributed to ‘user error’, the result is that the nice ceramic brake surface coating chipped off of the rim where it was bent. The rims are subjected to a lot of potential damage, and this was the result. I suppose it is really only a matter of time until you ding a rim, and if they are ceramic, you may lose some of it.
Looking more closely at my rims, it is clear that there are dozens of scratches and chips in the ceramic braking surface. Most chips are small and haven’t spread (apart from the flat-spot), and the brakes still work quite well, but it is quite annoying as new ceramic rims are very expensive. The rims for Mavic Crossmax rim-brake wheels are even more expensive (along with most of the other proprietary parts that comprise a Crossmax wheel) and subsequently the replacement parts cost far more than a replacement wheel. So, the result is that if I want to fix my rim, a new wheel, or likely wheelset, is the most cost-effective solution.
The second problem I had was with the Motolites, specifically with the brakes and the brake cable housing. First, a lesson on brake cable housings and how they work:
A brake cable housing consists of a hollow steel core coated with a plastic outer casing. At each end of the housing there is a metal ferrule (cap). Most cable housings also have an plastic liner inside of the steel core to reduce friction between the brake cable and housing. The inner steel core provides the strength of the housing. When the brakes are applied, the cable is pulled through the housing, and the housing is compressed between the brake lever and the brake.
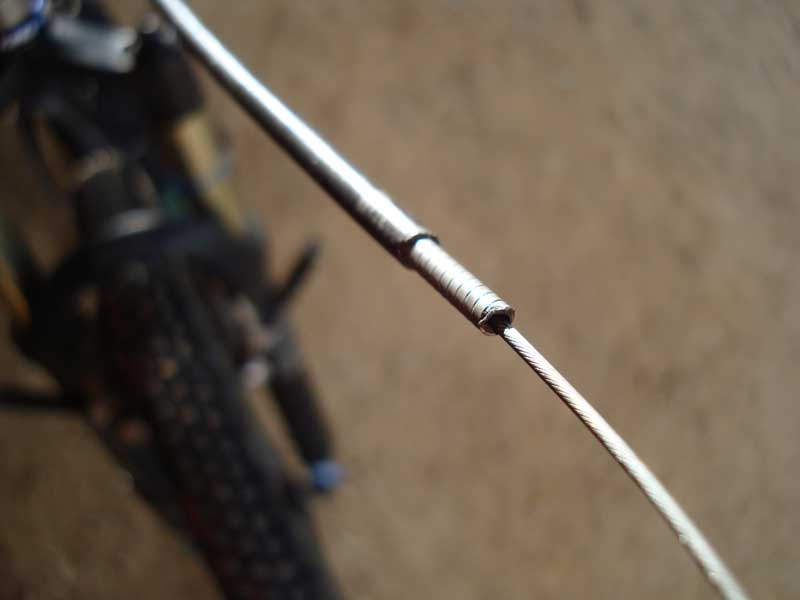
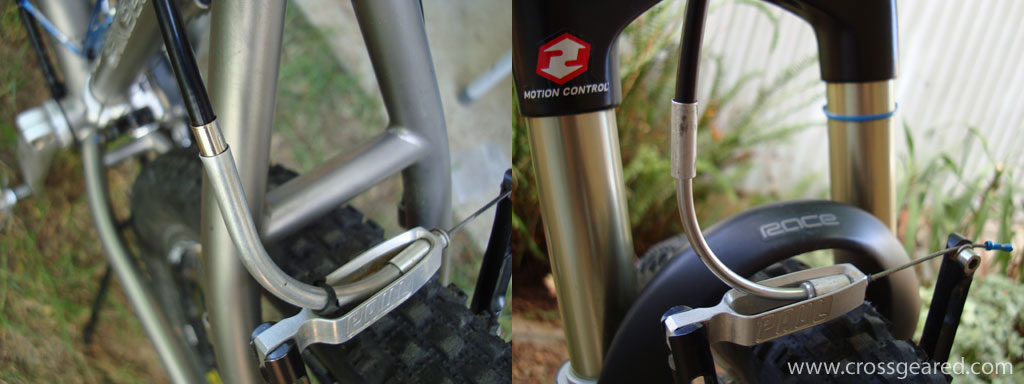
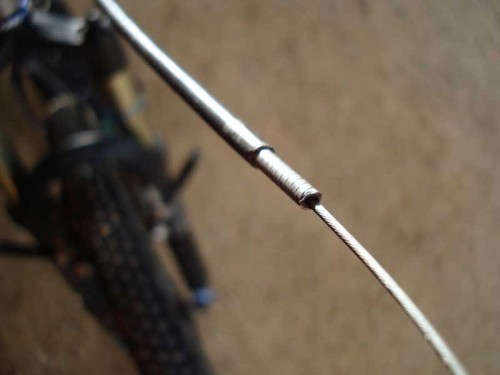
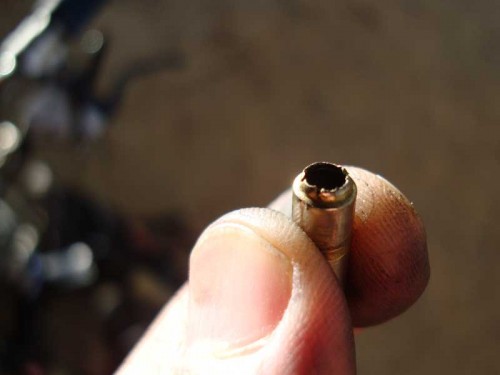
Anyway, on a Motolite brake, the cable passes through a bent metal tube called a ‘brake noodle’ prior to attaching to the brake. The brake housing terminates at the ‘brake noodle’. However, the hole in this ‘brake noodle’ for the cable appears to be a large enough diameter that the steel core of housing can pull through the ferrule and into the ‘brake noodle’ (See the above photo). This effectively shortens the housing length and renders the brake non-functional.
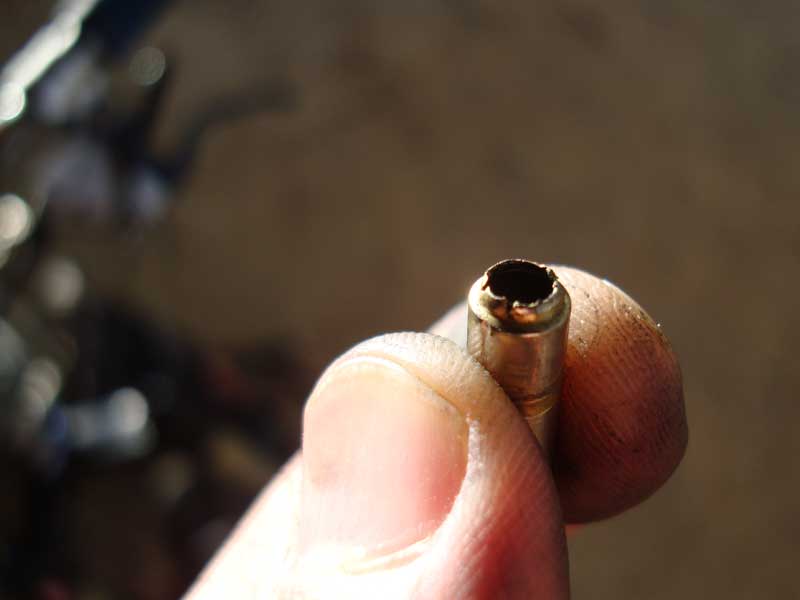
If you look at the ferrule below, you’ll see the result of the above brake housing steel core passing though it. I believe that the ferrule likely failed because it was supporting the full force of the front brakes due to the size of the hole in the ‘brake noodle’. This failure has happened to me twice. If you’re interested, I’ve tried shop bulk cable housing and Jagwire housing as well as a few types of ferrules, but the results have been the same or similar.
I contacted Paul for a solution, but I did not get a response. Honestly, I am pretty disappointed with them. Their parts are usually very nice and not inexpensive. To put it kindly, their customer service leaves a lot to be desired.
On the bright side, I found that the old-style Motolites use a different ‘brake noodle’ that does not use a ferrule, but instead has a nicely machined piece that fits between the cable housing and the ‘brake noodle’. I put one of these old-style ‘brake noodles’ on the front brake and I haven’t had any more problems.
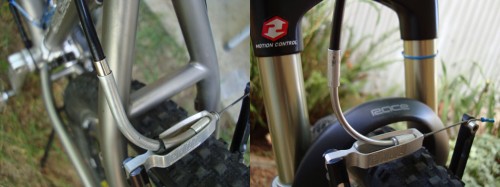
See the ‘old style’ above and right, and the ‘new’ above and left. The smaller outer diameter of the ‘old style brake noodle’ has the added benefit of not rattling against the ‘hooked canoe’. Great terminology, huh?
However, as you may have guessed, I’m not too happy with these brakes. While the brakes are working (for now), I have a better, bluer, and titanium-er solution in progress…