I raced in a team 6 Hour Enduro at Eagle Park near Adelaide, SA on Sunday. This was my first endurance race, and my first race over an hour (or so). There were about 90 racing with a mix of solo, under-17, veterans, teams and mixed teams.
We had three on our team, Dave, Dave and Tom. I met Dave and Tom on the Tour Down Under Challenge earlier this year, and we’ve been riding semi-regularly since. Anyway, I rode three of the eight laps. We rotated through each lap, so I did get a chance to recover in the time in between.
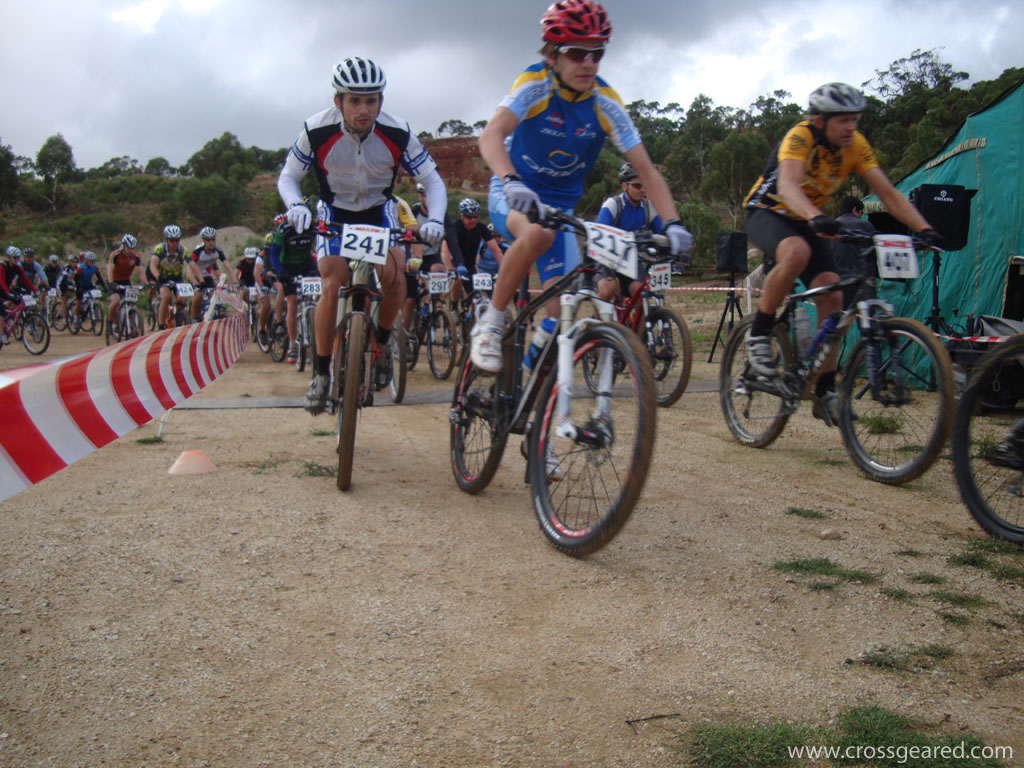
I rode the start lap. The day started off cool at around 15C and ended windy and still cool. The course was wet and muddy from overnight rain, but it was quickly dried throughout the day. There was a fair amount of traffic on this lap, but it thinned out by the first climb. I finished this lap without any crashes or incidents.
The course was mostly dry and in good shape for my second and third laps. I did manage to go over the bars three times during these two laps, but neither I or the bike sustained any serious damage. While I was trying to improve on the time of my first lap, both laps came in about a minute and a half slower. I’m fairly certain the crashed weren’t helping my times.
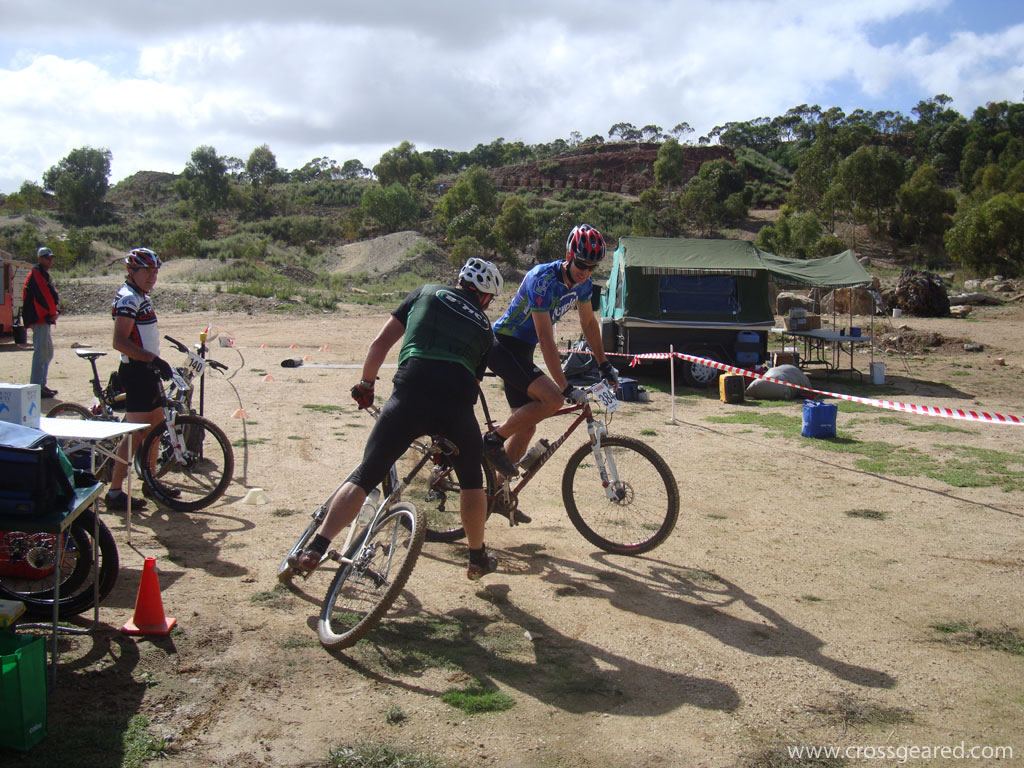
Above you are looking at one of our “well executed” team transitions. Note that that both riders should optimally be facing the same direction.
In the end, my lap times were 49:11, 50:27 and 50:55. The average lap time for the teams were completed against was 48:37, with a fast lap of 39:34 and the slowest at 1:41:38. Overall, our team finished 4th of 10, completing eight laps.
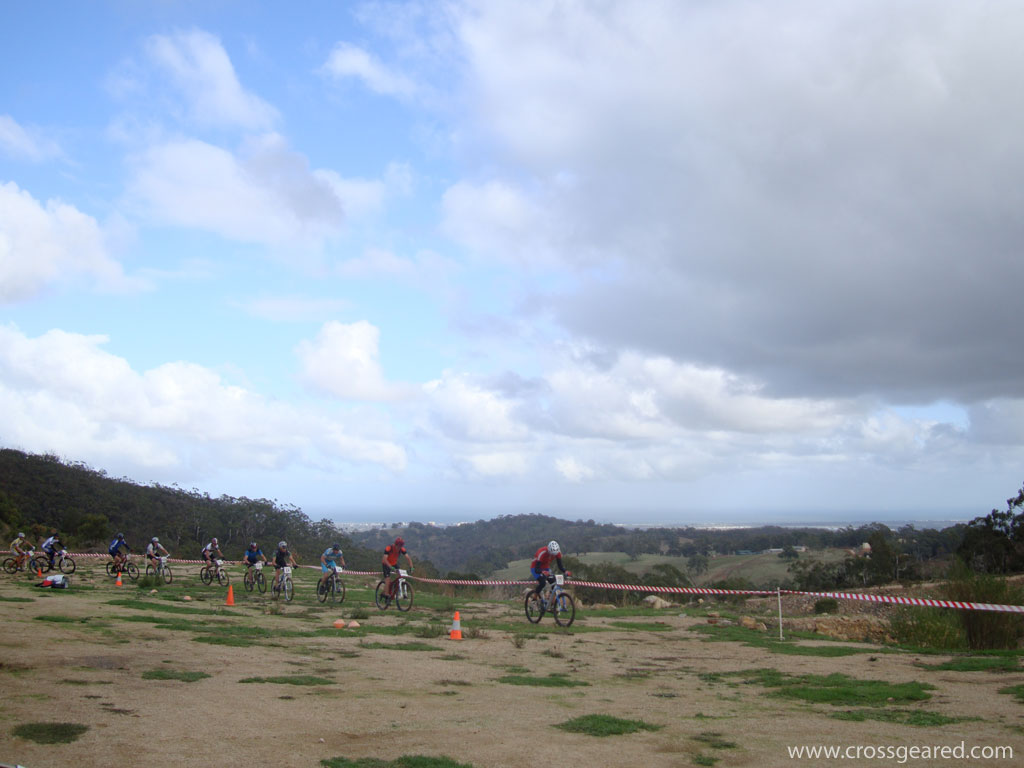
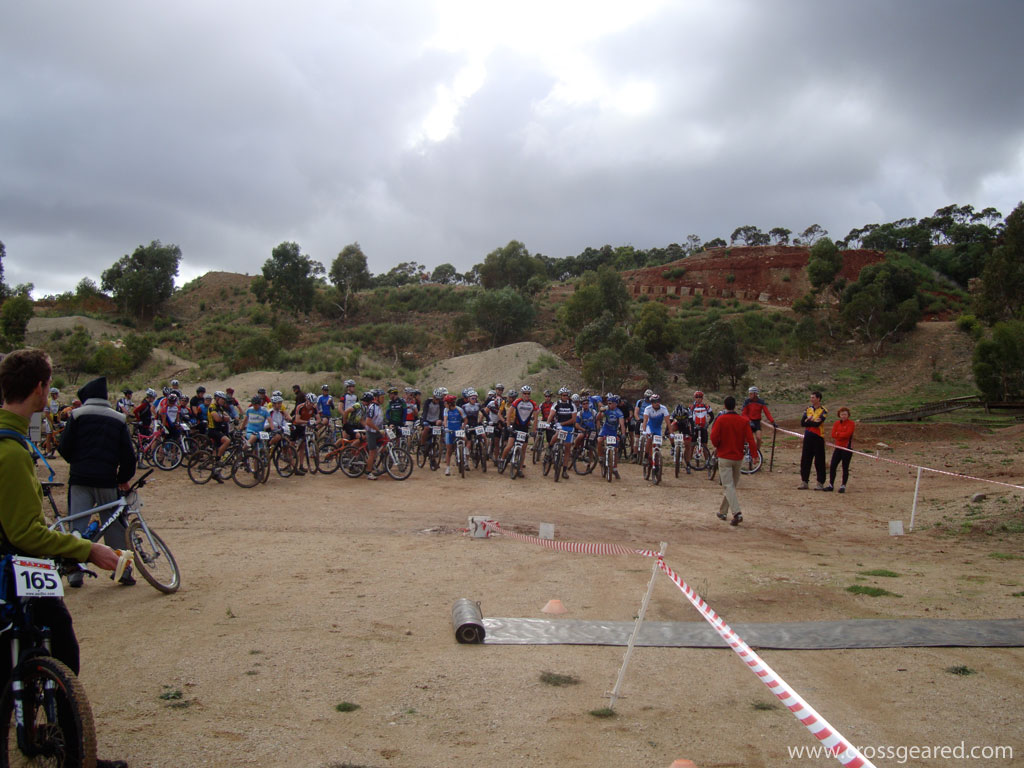
Here you will see a view of turn 1 as seen from the start/finish line. I’m the fifth one back, wearing in blue.
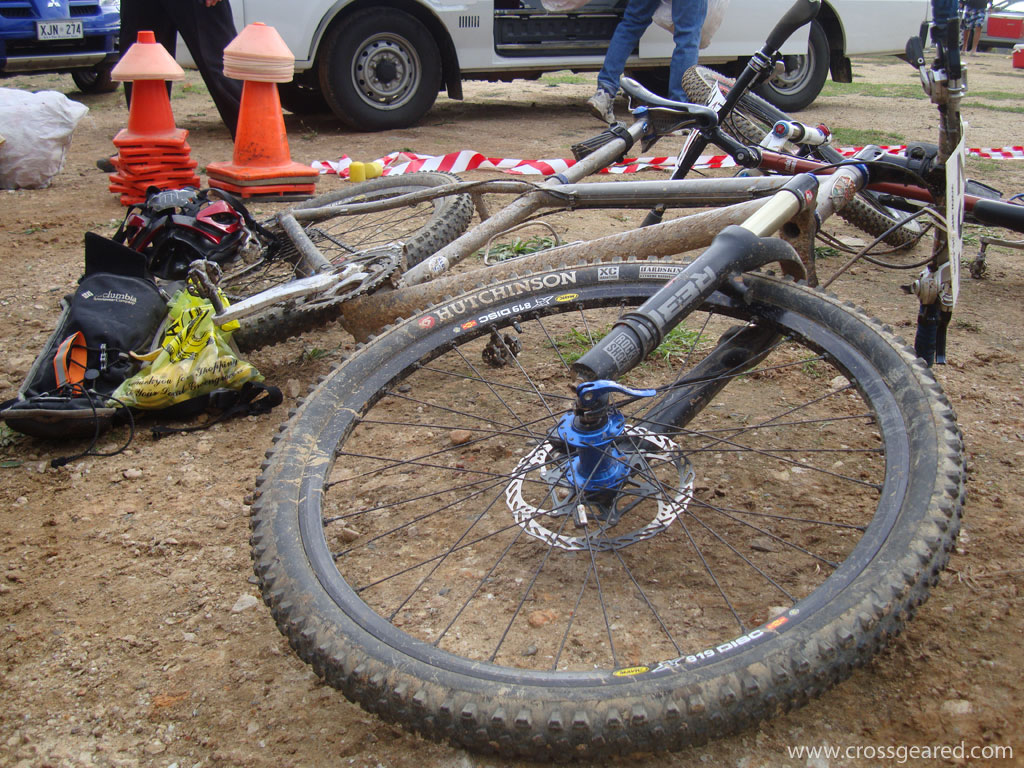
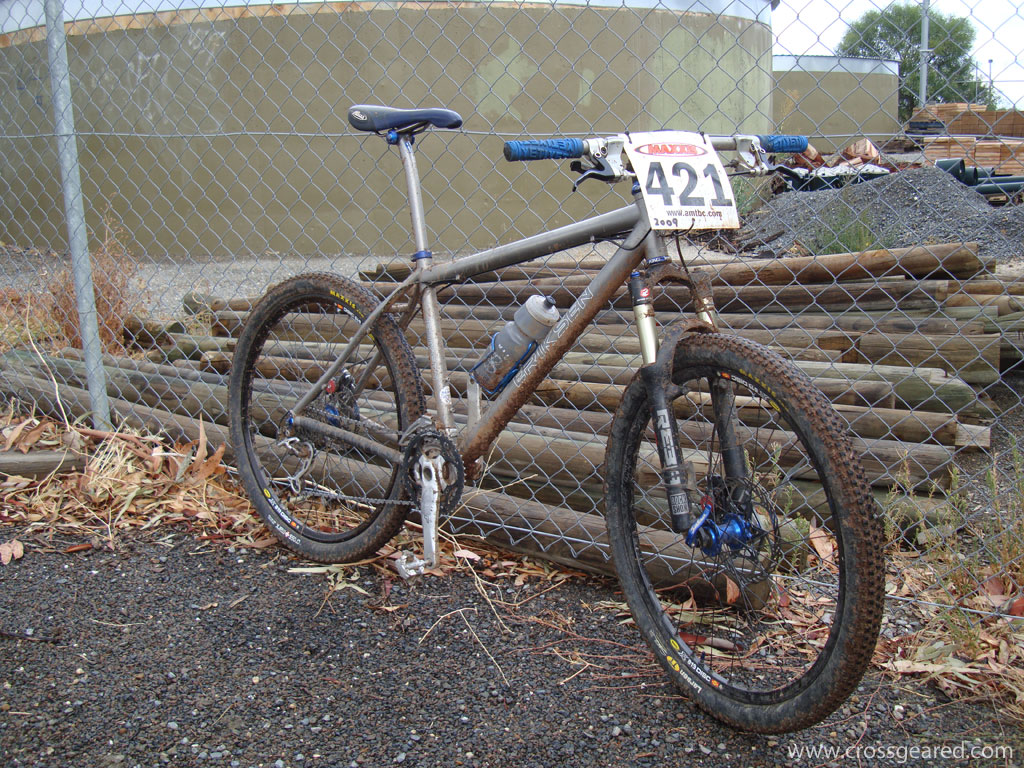
The Eriksen and a bag of banana peels after the finish. I swapped my usual Larsen TT/Crossmark tires for my more mud-friendly Hutchinson Toros. The Toros were nice on the first lap, but the Larsen TT/Crossmark combo would have been better for the rest of the day. That said, the Toros are doing a much better job of holding air than the Maxxis tires ever have. I mounted the Hutchinson tires tubeless with Stan’s sealant, and a week later they had not lost much (if any) air pressure.
I also took the granny ring off, mostly because I’ve been having chain-suck in the middle ring (and the extra clearance is helpful), but also because removing the ring had the secondary benefit of not letting me use it. I had not used the granny ring at Eagle in quite a while, and I didn’t miss it during the race. I’m now contemplating switching the Eriksen to 1×9…
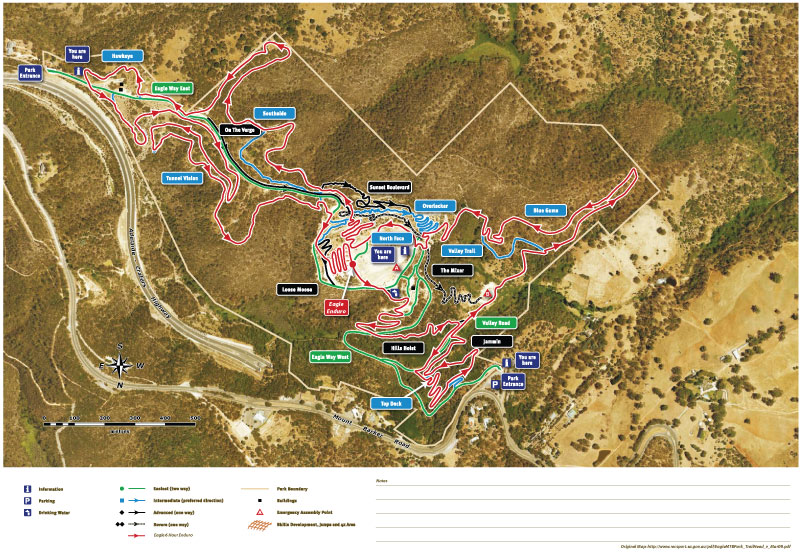
Here is a map I made of the course, just in case you’re inspired to try a lap of your own. The red-on-white plus red-on-pink route is a full lap. The red-on-pink alone is the under-17 and recreation class lap. Download a printable PDF of the Eagle 6 Hour Enduro Map.
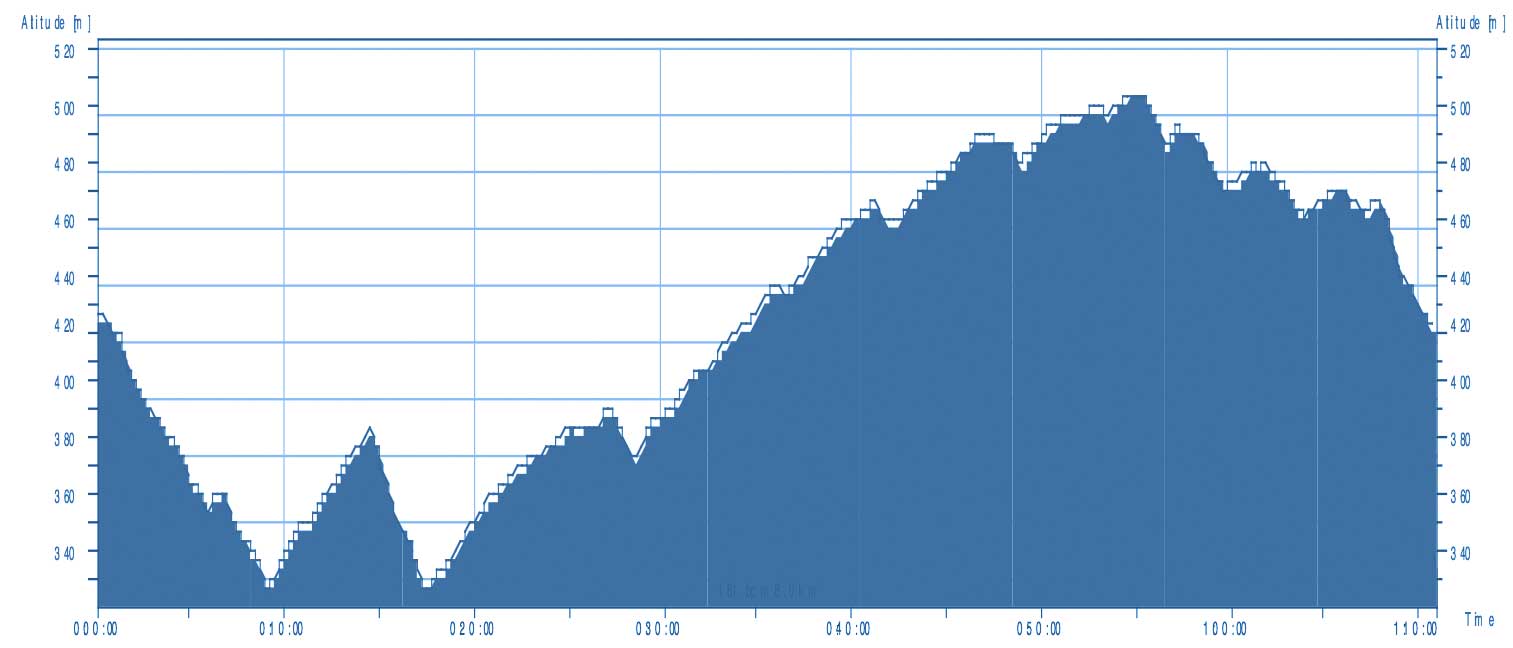
Finally, here is an elevation map of the course. This was provided by another competitor, so ignore the time.